

In Part 2, we configured our PKI infrastructure with an Enterprise CA and NDES server. This part covers connecting that infrastructure to Microsoft Intune for certificate deployment to managed devices.
Current State of Certificate Deployment
Before diving into the configuration, it’s worth noting that the Intune Certificate Connector approach described here isn’t the only – or necessarily the best – option available today. Microsoft Cloud PKI offers a fully cloud-based solution without requiring on-premises infrastructure. Third-party solutions like SCEPman provide cloud-native SCEP services that work well for Wi-Fi and VPN scenarios.
However, if you have existing on-premises PKI infrastructure that needs to integrate with legacy applications or resources, or if you’re testing hybrid scenarios, the Intune Certificate Connector remains a valid (and still supported) approach.
Architecture Overview
The solution consists of three main components:
- NDES Server – Handles SCEP requests and interfaces with the Enterprise CA
- Microsoft Entra Application Proxy – Publishes NDES externally without inbound firewall rules
- Intune Certificate Connector – Bridges Intune with the NDES server
The Application Proxy creates an outbound connection from your network to Microsoft’s cloud services. Intune communicates with your NDES server through this tunnel.
Prerequisites
- NDES server configured and operational (from Part 2)
- Enterprise CA issuing certificates
- Microsoft Entra ID P1 or P2 license (for Application Proxy)
- Microsoft Intune license
- Global Administrator or Application Administrator rights
- Test device enrolled in Intune
Installing Microsoft Entra Application Proxy
Following Microsoft’s documentation for protecting NDES with Application Proxy, we’ll install the connector and publish the NDES endpoint.
Installing the Connector
Sign in to the Azure Portal as an Application Administrator (or above)
- Navigate to Microsoft Entra ID → Application proxy
- Select Download connector service
- Copy the installer to your NDES server (or a separate server in the same network) using e.g. Copy-VMFile
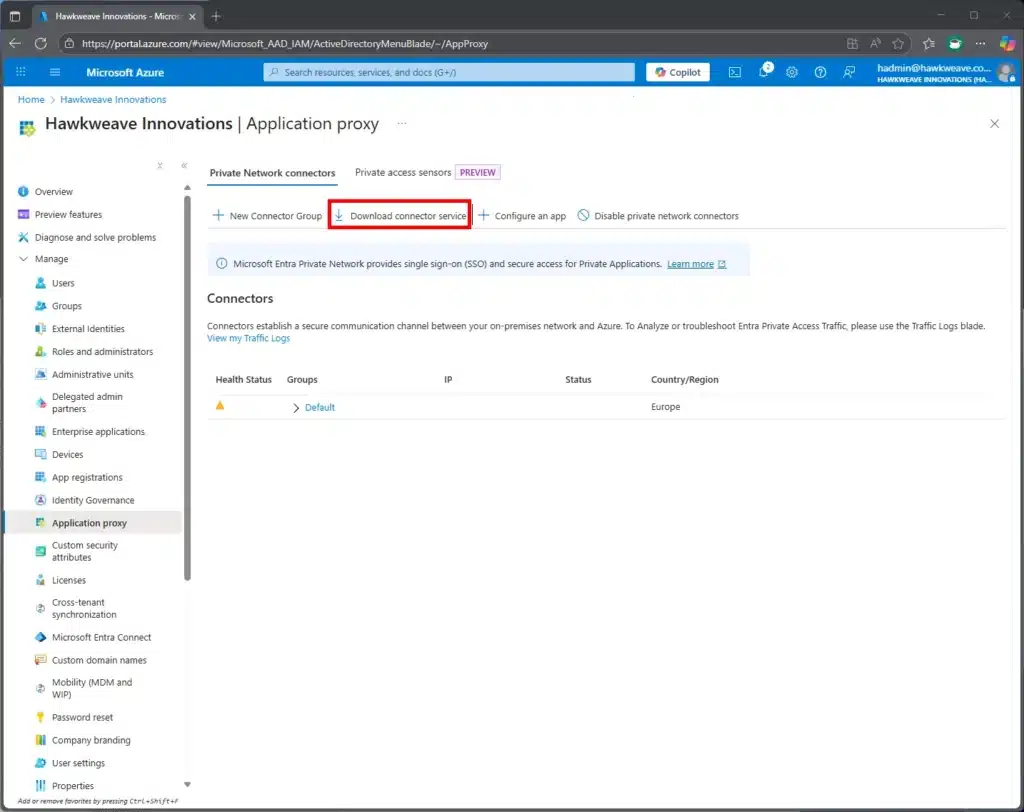
You could also do this via the Microsoft Entra admin center if you prefer, and click Enterprise apps → Private Network connectors → and then Download connector service from there.
Copy the downloaded installer to the Guest VM using Copy-VMFile:
Copy-VMFile -Name HAWKWEAVE-NDES01 -SourcePath .\MicrosoftEntraPrivateNetworkConnectorInstaller.exe -FileSource Host -DestinationPath 'C:\Temp\MicrosoftEntraPrivateNetworkConnectorInstaller.exe' -CreateFullPath
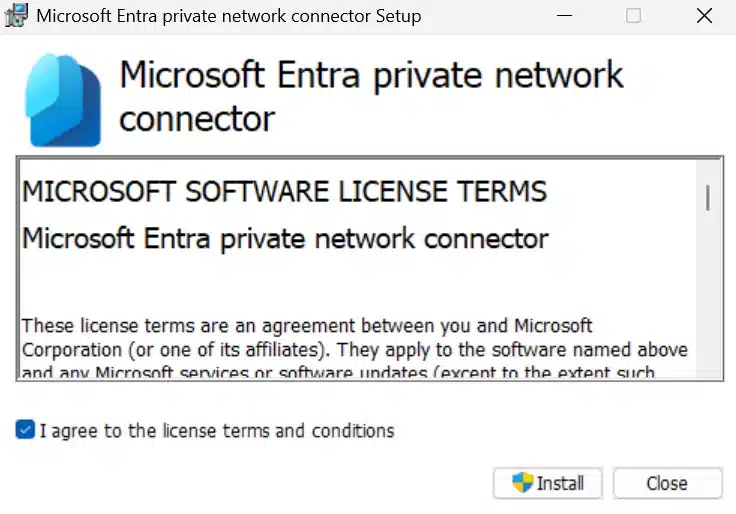
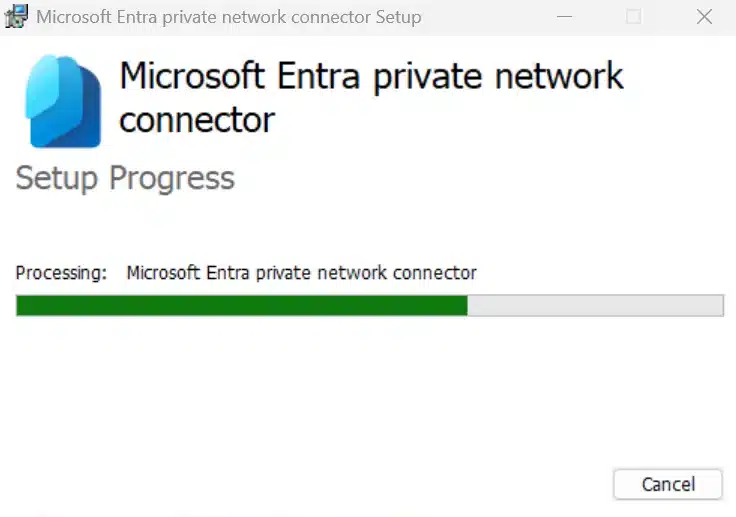
Run the installer with administrative privileges:
.\MicrosoftEntraPrivateNetworkConnectorInstaller.exeDuring this installation:
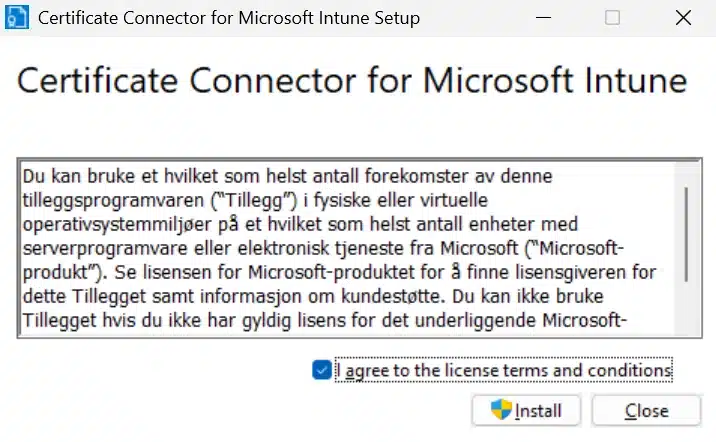
- Accept the license terms
- Sign in with your Application Administrator credentials
- The account must belong to the same directory where Application Proxy is enabled
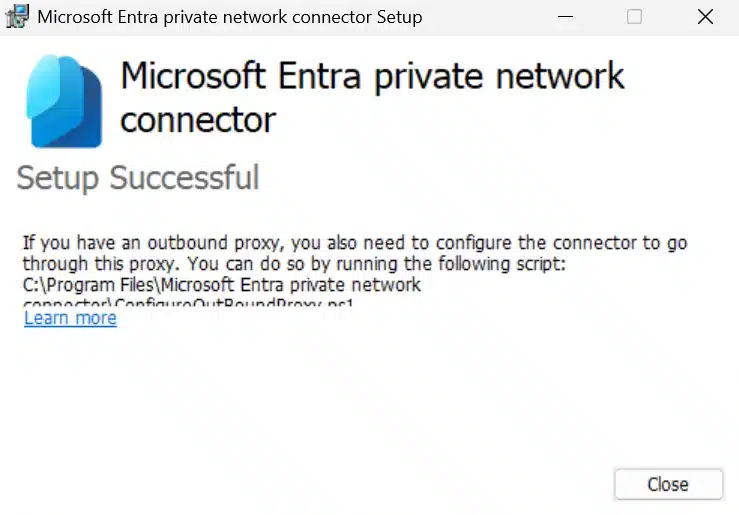
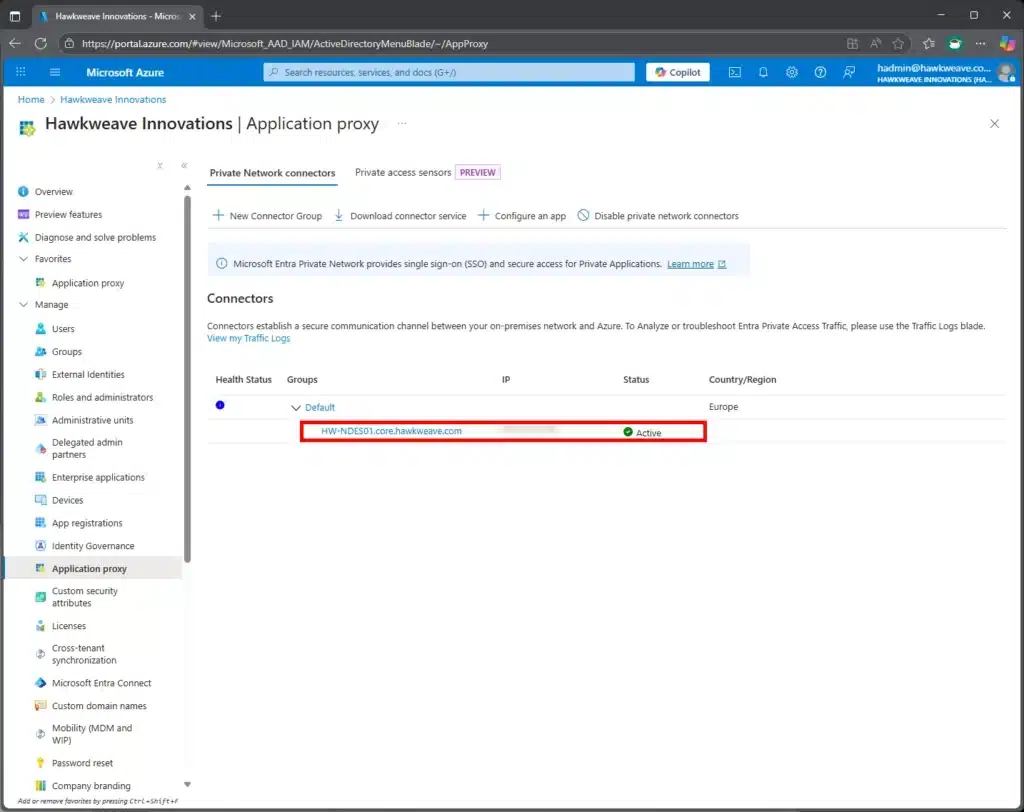
After installation, verify the connector service:
Get-Service "WAPCsvc" | Select-Object Name, Status, StartType
You will also be able to see the connector with an Active status in the Azure Portal at this point:
Publishing the NDES Server
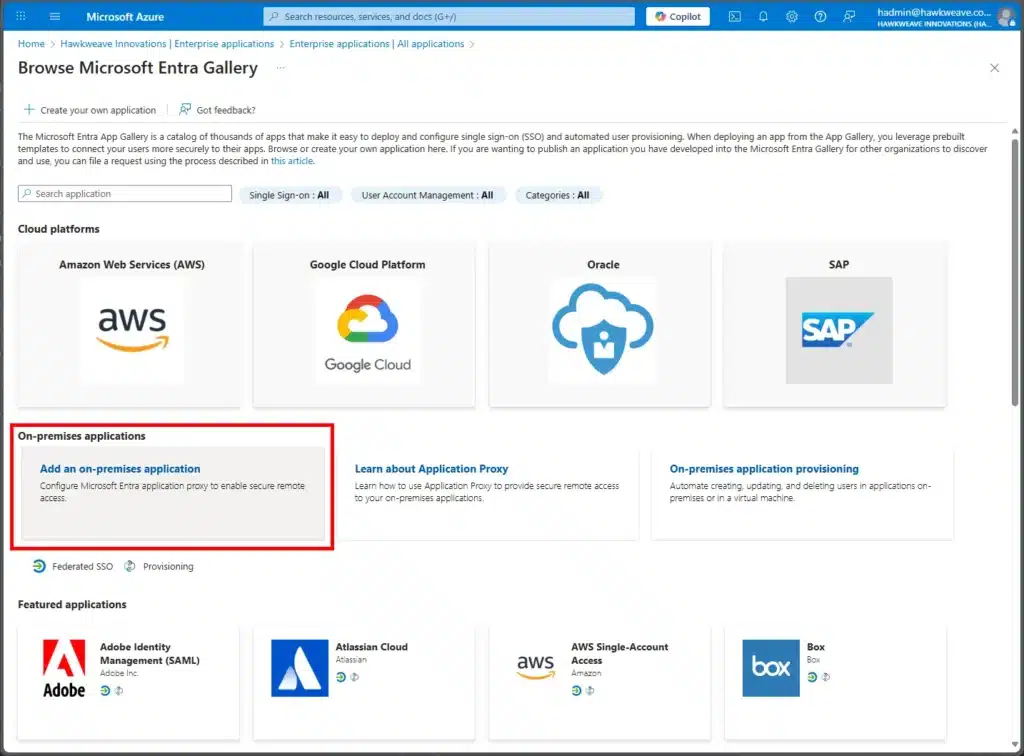
- In the Azure Portal, first enter Microsoft Entra ID and select Enterprise applications
- Select + New Application → On-premises application
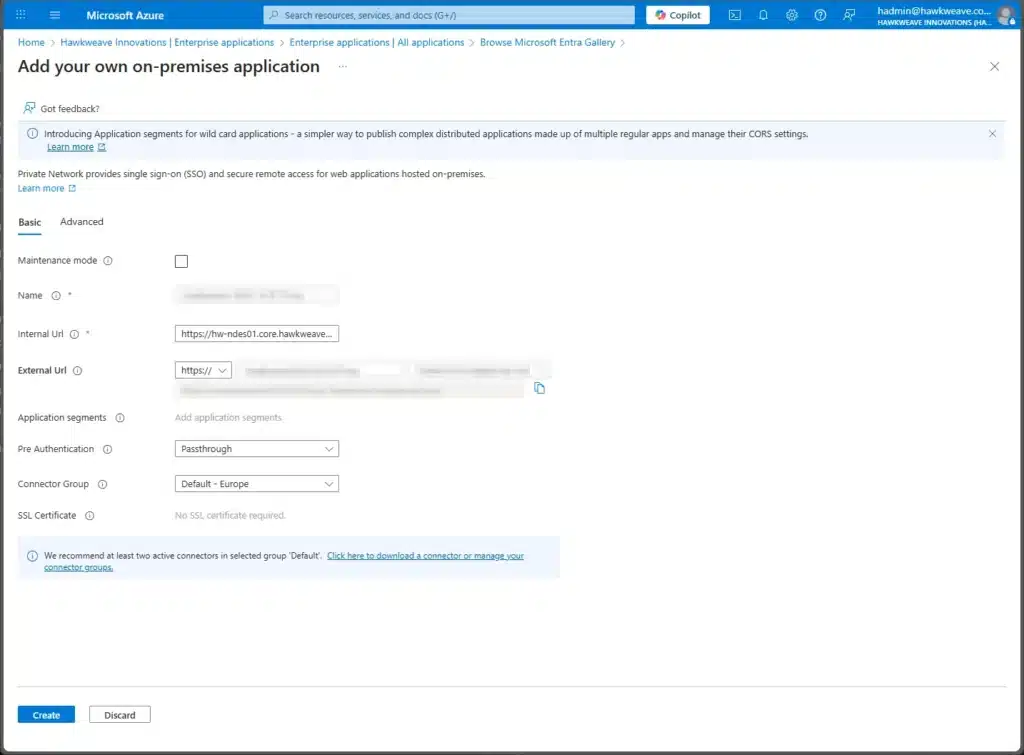
Configure the application with values for Name, Internal URL and Pre Authentication, like this:
Name: <Intune SCEP NDES Proxy>
Internal URL: https://hw-ndes01.core.hawkweave.com/
Pre Authentication: Passthrough
NOTE: The external URL will be auto-generated (e.g., https://<name-of-your-intune-ndes-scep-proxy>.msappproxy.net).
Save the application and copy the external URL to the clipboard.
Testing the Application Proxy
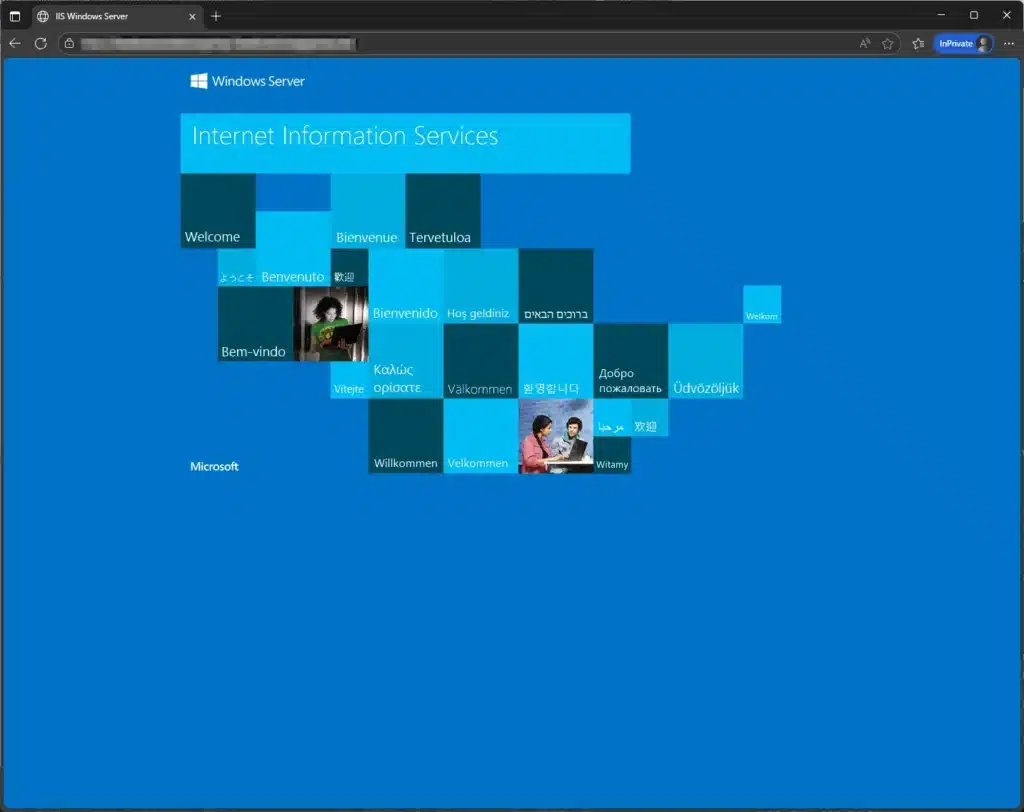
Test the configuration by accessing the external URL in a browser:
# Should return an IIS welcome page
Invoke-WebRequest -Uri "https://<name-of-your-ndes-scep-proxy>.msappproxy.net" -UseBasicParsing

# Testing the SCEP endpoint should return HTTP 200 (before Intune Connector installation)
Invoke-WebRequest -Uri "https://<name-of-your-ndes-scep-proxy>.msappproxy.net/certsrv/mscep/mscep.dll" -UseBasicParsing
Note: This will change to HTTP 403 after installing the Intune Certificate Connector, which is expected behavior.

Installing the Intune Certificate Connector
Installation Process
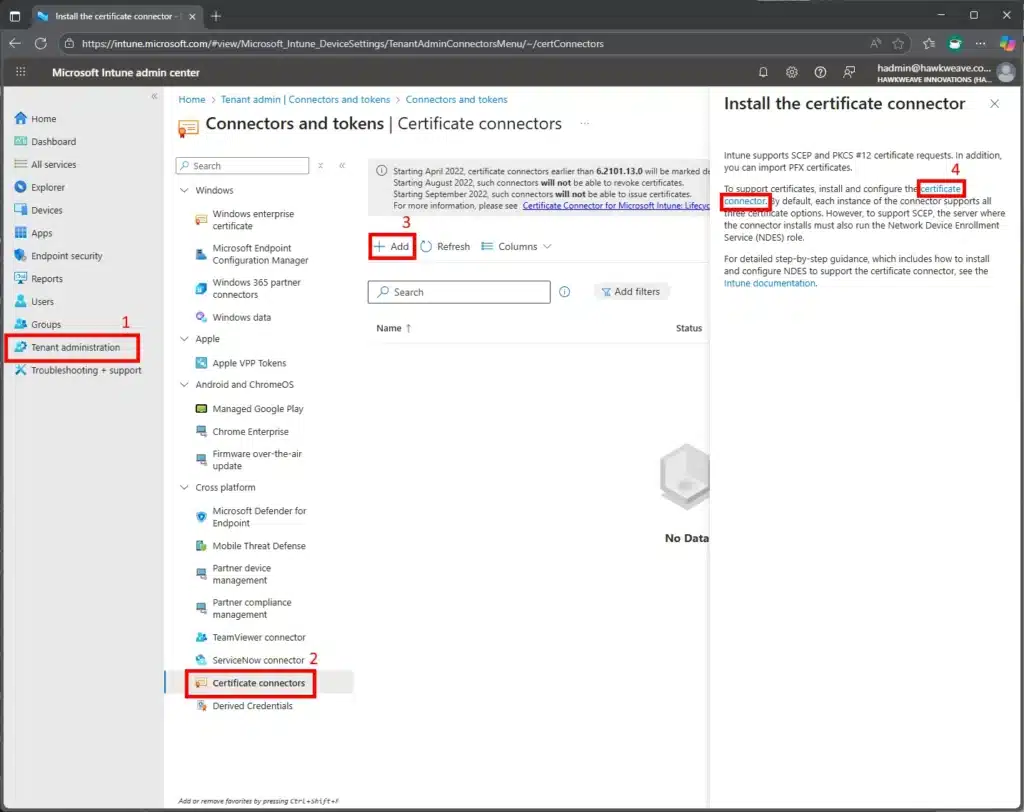
- Download the Certificate Connector from the Intune admin center
- Navigate to Tenant administration → Connectors and tokens
- Select Certificate connectors → + Add
- Download the installer
- Copy the installer to the server (see above for PowerShell command)
- Run the installer with administrative privileges

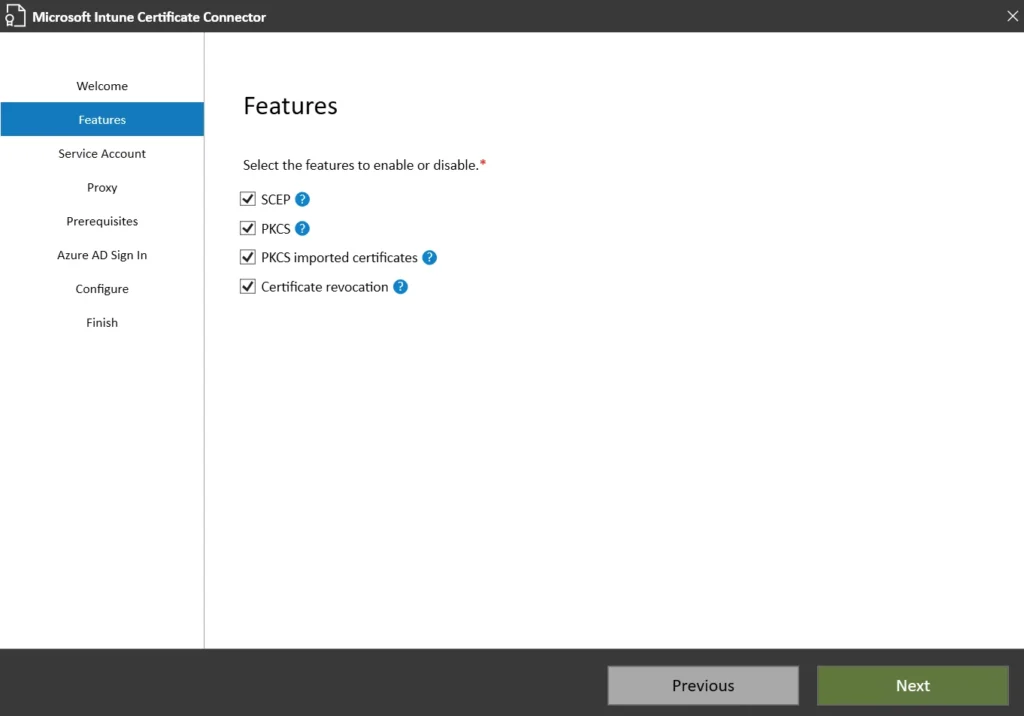

- Select these features:
- SCEP and PKCS Certificate Profiles
- Certificate revocation profile
- When prompted for the Service Account, enter the credentials we created in Part 2 (or equivalent for your environment)
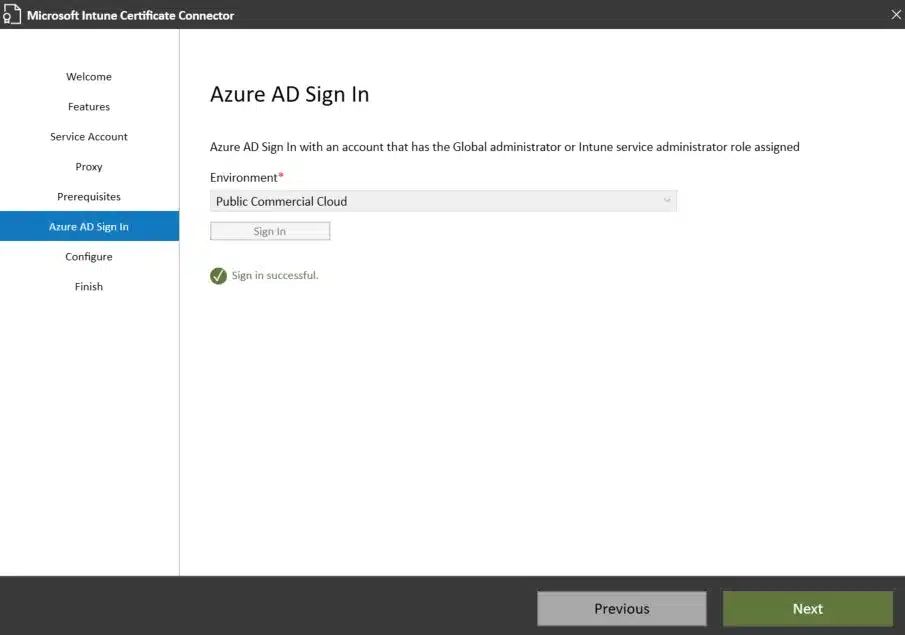
- Sign in to “Azure AD” (not everything has been updated to the “new” Entra ID terminology yet) with your Intune Administrator credentials
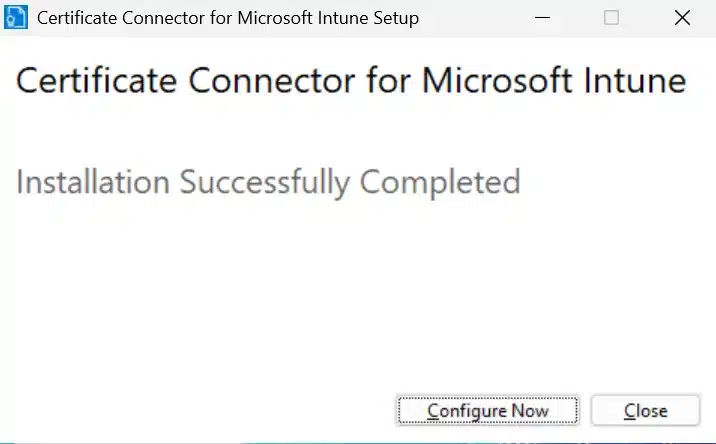
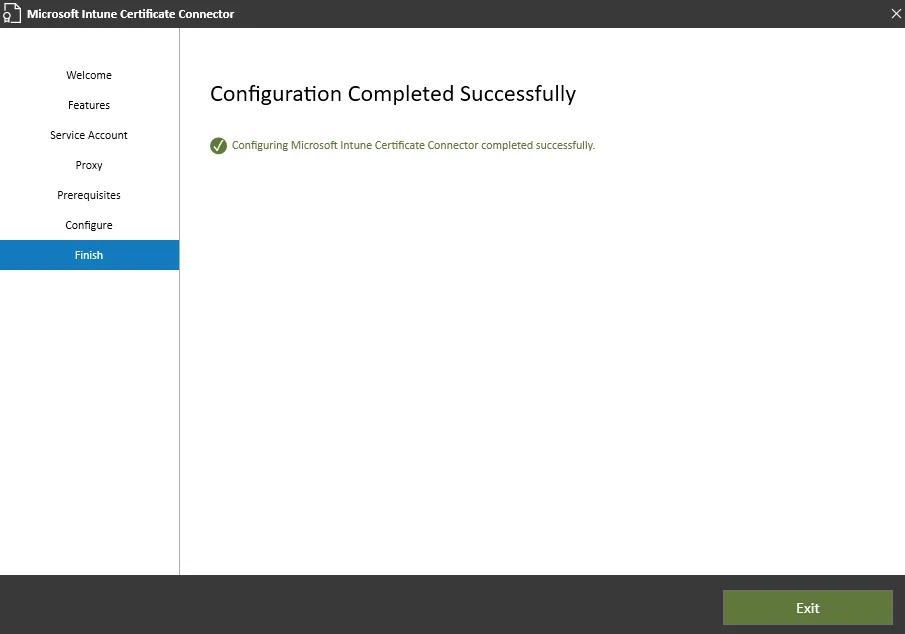
- Click Configure and let the installer perform the necessary changes
Finally you should be able to complete with a congratulatory message:
Verify the connector service:
Get-Service "PKIConnectorSvc" | Select Name, Status
Get-Service "PFXCertificateConnectorSvc" | Select Name, Status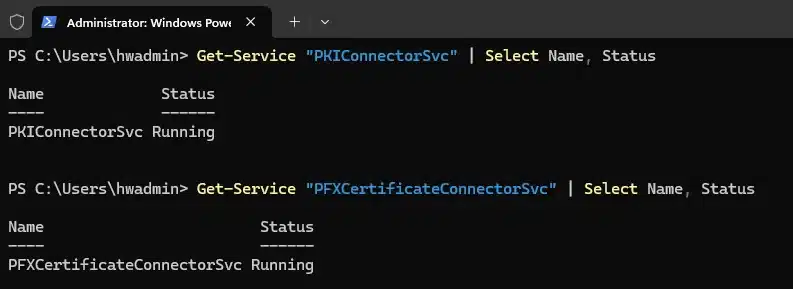
Important: NDES Lockdown After Installation
After installing the Intune Certificate Connector, the NDES server behavior changes significantly. The connector implements a challenge-response mechanism that only accepts requests from Intune-managed devices. This is an important security feature, and not a misconfiguration.
Test that the lockdown is working properly:
# Test external URL - should now return HTTP 403 Forbidden
Invoke-WebRequest -Uri "https://<name-of-your-ndes-scep-proxy>.msappproxy.net/certsrv/mscep/mscep.dll" -UseBasicParsing

# Test internal URL - should also return HTTP 403 Forbidden
Invoke-WebRequest -Uri "http://localhost/certsrv/mscep/mscep.dll" -UseBasicParsing
Both tests should return “HTTP Error 403.0 – Forbidden”. This is expected behavior – the NDES server now only accepts certificate requests that include a valid challenge blob generated by Intune. Direct access to the NDES URL is intentionally blocked to prevent unauthorized certificate enrollment.


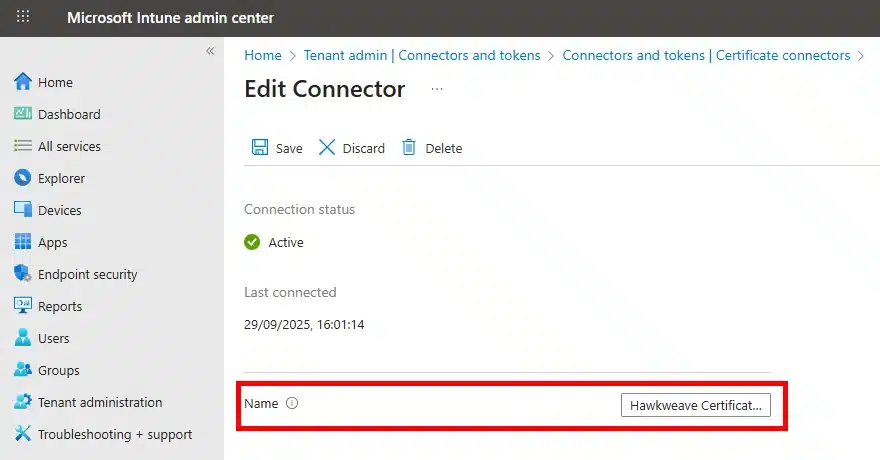
After the installation is done, you will be able to view the connector installed in Microsoft Intune, with a generic name as well as the date stamp of first connection.

Of course you both can and should rename this connector to a more friendly and descriptive name:
Configuring Certificate Profiles in Intune
Trusted Root Certificate Profile
The root CA certificate must be deployed to devices first.
- Export the root certificate (if not already done, and preferably from the CA server):
cmd
REM Run in Command Prompt (cmd.exe)
certutil -ca.cert C:\Temp\RootCA.cer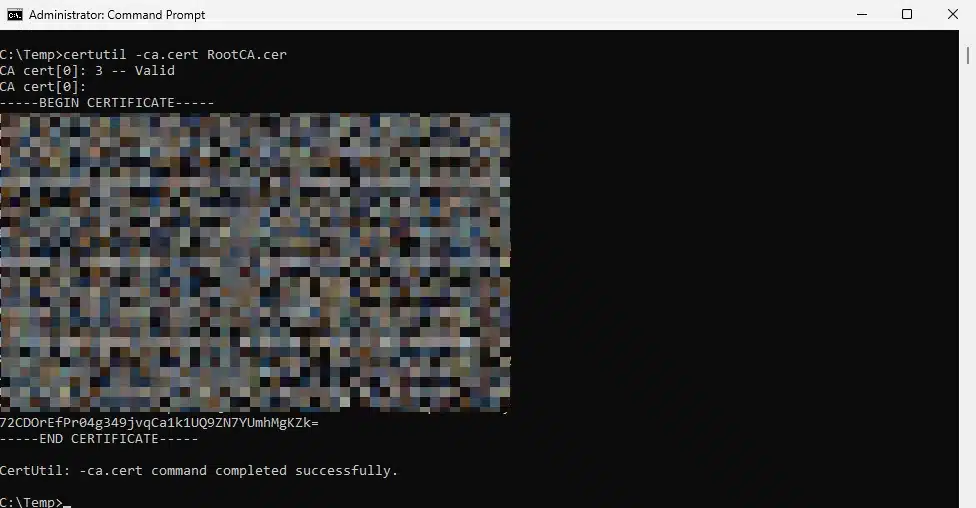
Note: If running in PowerShell, you need to escape the parameter:
PowerShell
certutil '-ca.cert' 'C:\Temp\RootCA.cer'
Alternatively, you can run this from any domain-joined server. First find the CA:
cmd
certutil -config - -ping
A popup-window will show the available CAs to choose from. Then use the CA configuration string:
cmd
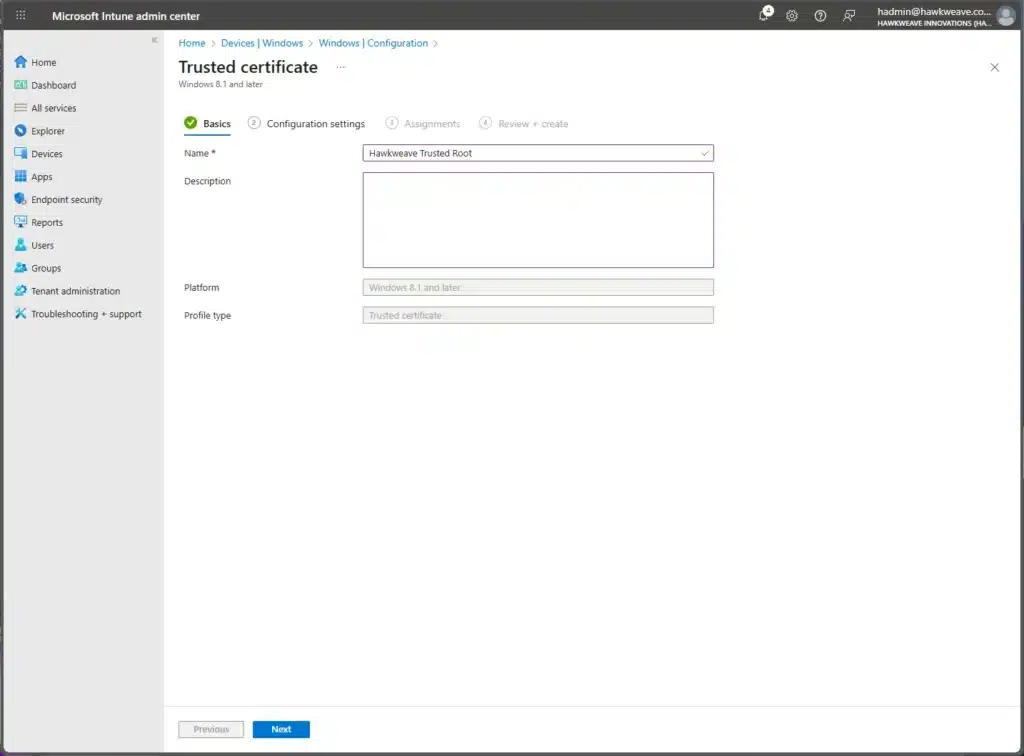
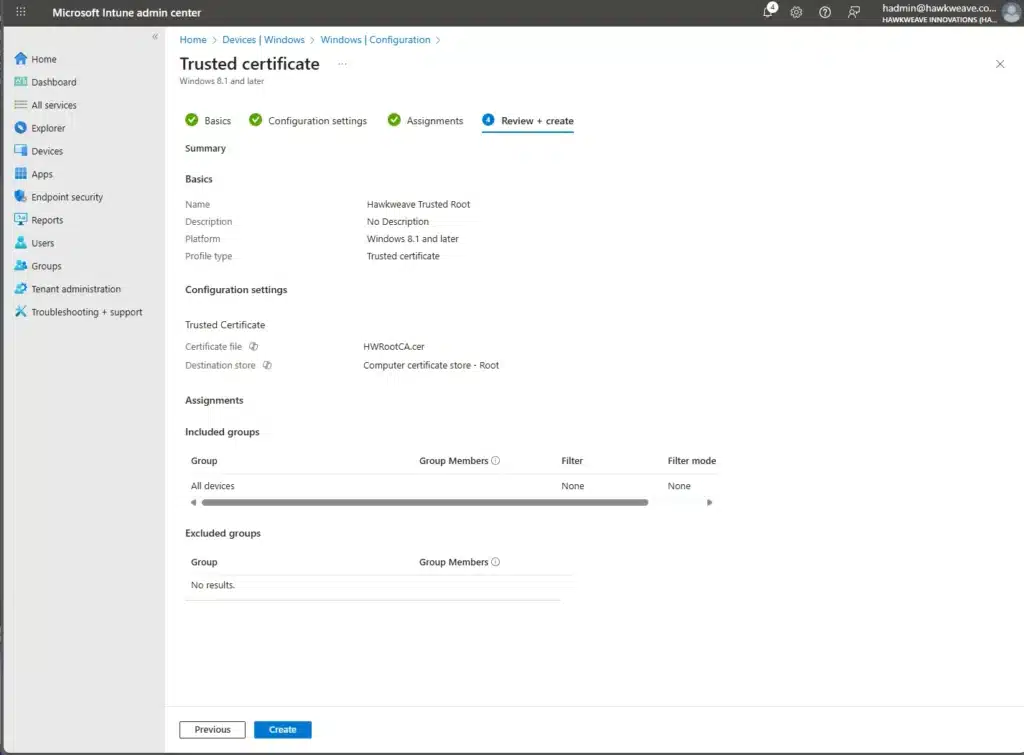
certutil -config "HW-CA01.core.hawkweave.com\CORE-HAWKWEAVE-CA01-CA" -ca.cert C:\Temp\RootCA.cer- Create a trusted certificate profile in Intune:
- Platform: Windows 8.1 and later
- Profile type: Templates → Trusted certificate
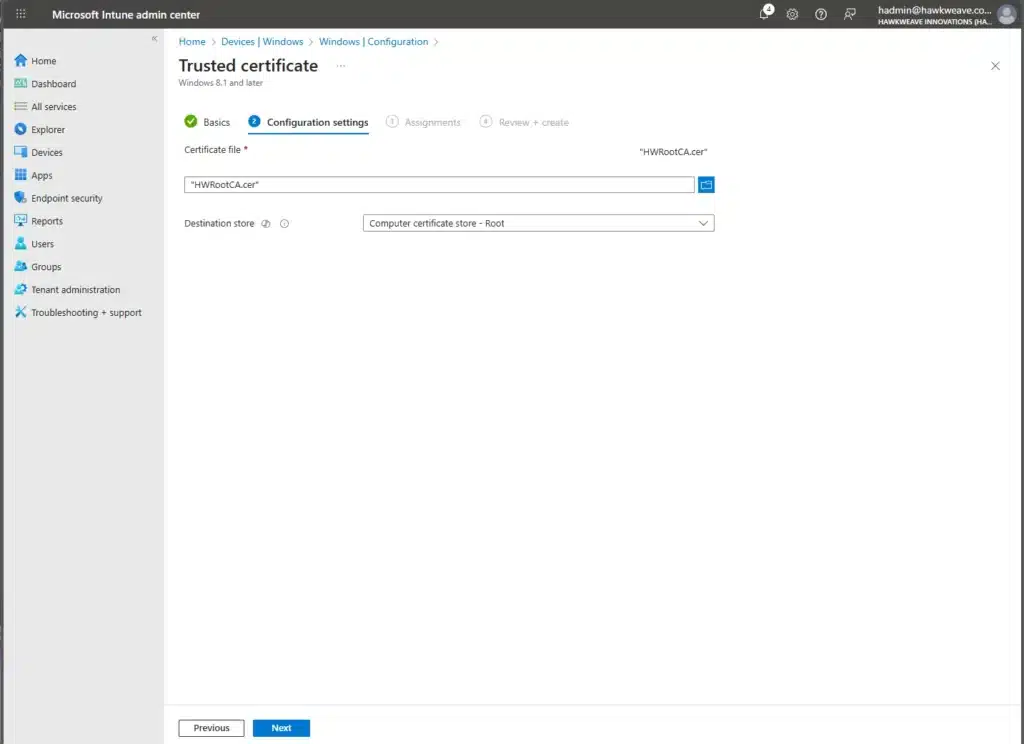
- Upload the RootCA.cer file
- Destination store: Computer certificate store – Root
I went with Assignment → All devices, but that is entirely up to you and the environment.
SCEP Certificate Profile
- Create a new configuration profile:
- Platform: Windows 10 and later
- Profile type: Templates → SCEP certificate
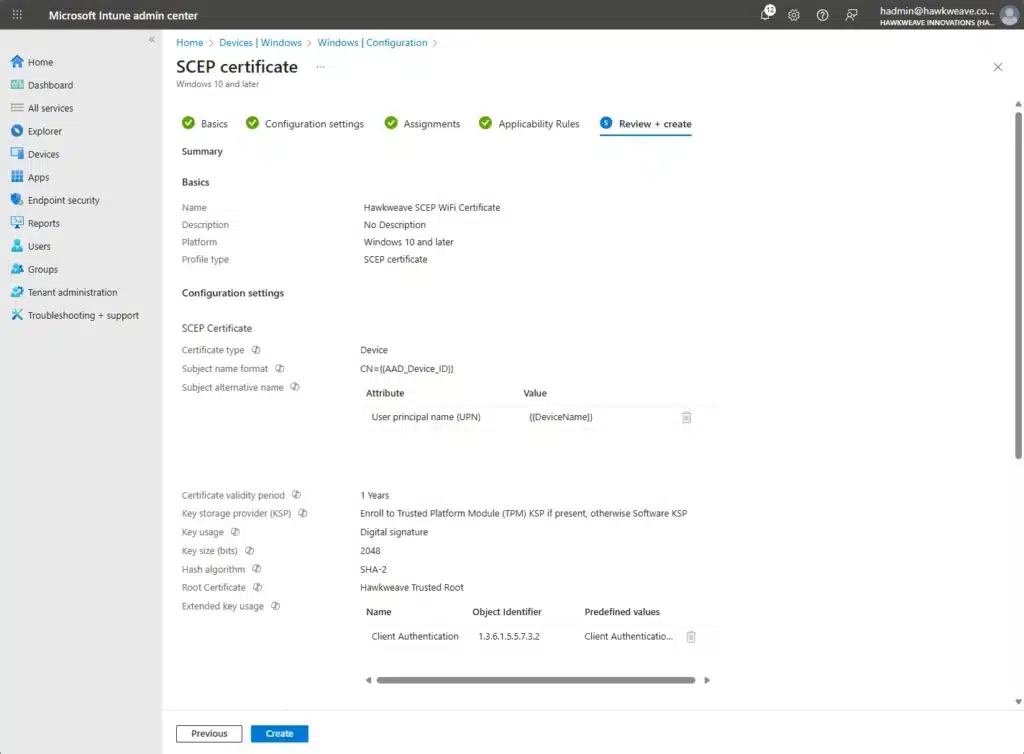
- Configure certificate settings:
Certificate type: Device
Subject name format: CN={{AAD_Device_ID}}
Subject alternative name:
  - User principal name (UPN): {{DeviceName}}
Certificate validity: 1 year
Key storage provider: Enroll to Trusted Platform Module (TPM) KSP if present, otherwise Software KSP
Key usage: Digital signature
Key size (bits): 2048
Hash algorithm: SHA-2
Root Certificate: Select your trusted root profile
Extended key usage:
  - Client Authentication (1.3.6.1.5.5.7.3.2)
Enrollment Settings:
  - Renewal threshold: 20%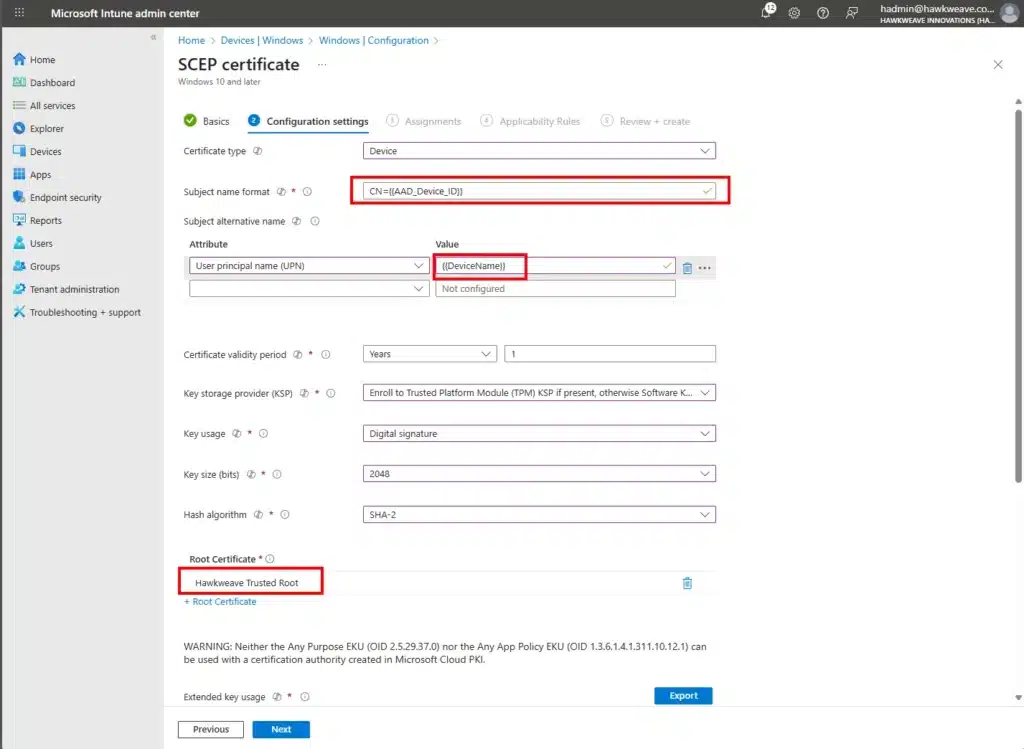
- Set the SCEP Server URL to your Application Proxy external URL:
https://<name-of-your-ndes-scep-proxy>.msappproxy.net/certsrv/mscep/mscep.dll- Assign to test groups
You can configure these settings to fit your requirements. For now, I just went with AAD_Device_ID to guarantee a unique identifier. I might change this to DeviceName to be able to use the resulting values for filtering on prefixes etc. later on.
For the Subject alternative name, I chose UPN as the default attribute and populated it with the DeviceName, but you might find DNS a more useful attribute in your environment.
Verification
Certificate Deployment Status
Monitor deployment in the Intune admin center:
- Devices → Monitor → Device configuration
- Check both the trusted certificate and SCEP profile status
NDES Server Event Logs
On the NDES server, check the Event Viewer for successful certificate issuance. You should see a sequence of events like this in the log found under Applications and Services → Microsoft → Intune → Certificate Connector → Admin:
- SCEP request received:
SCEP Policy Module:
Successfully received SCEP request.
Certificate Request Id: [GUID]
Device Id: [Device GUID]
Transaction Id: [Transaction ID]
Template Name: IntuneSCEPEncryption- SCEP request verified (validates the Intune challenge):
SCEP Policy Module:
Successfully verified SCEP request.
Verification Elapsed (ms): [time]- Certificate issued:
SCEP Policy Module:
Successfully issued certificate for SCEP request.
Serial Number: [Certificate Serial]
Thumbprint: [Certificate Thumbprint]
Subject: CN=[Azure AD Device ID]- Intune notified of success:
SCEP Policy Module:
Successfully notified Intune of result for SCEP request.
CA Config string: [Your CA configuration]
Notification Elapsed (ms): [time]
These events confirm the complete certificate deployment pipeline is working: request → verification → issuance → notification.
Client Verification
On the test device:
# Force MDM sync
Get-ScheduledTask | Where-Object {$_.TaskName -eq "PushLaunch"} | Start-ScheduledTask
# Check deployed certificates
Get-ChildItem Cert:\CurrentUser\My | Where-Object {$_.Issuer -like "*HAWKWEAVE*"} |
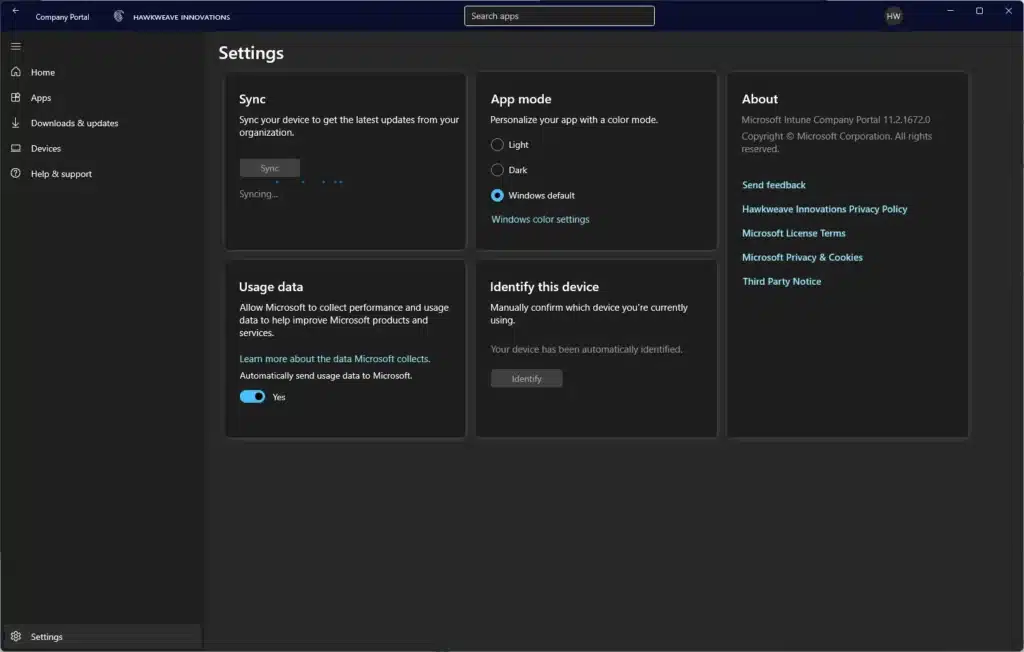
Format-Table Subject, Issuer, NotAfter -AutoSizeOr, bring up Company Portal and trigger a Sync from Settings:
Troubleshooting
Common Issues
NDES URL not accessible through Application Proxy
Verify the connector is active and the application is configured correctly:
# Check connector service
Get-Service WAPCsvc

# Test external URL
$response = Invoke-WebRequest -Uri "https://your-ndes.msappproxy.net/certsrv/mscep/mscep.dll" `
    -UseBasicParsing -ErrorAction SilentlyContinue
Write-Host "Status Code: $($response.StatusCode)"
Certificate deployment fails
Check the NDES registry configuration:
Get-ItemProperty "HKLM:\SOFTWARE\Microsoft\Cryptography\MSCEP" |
    Select EncryptionTemplate, SignatureTemplate, GeneralPurposeTemplate
Verify the service account has enrollment permissions on the certificate template.
Connector not appearing in Intune
Enable verbose logging:
New-ItemProperty -Path "HKLM:\SOFTWARE\Microsoft\MicrosoftIntune\NDESConnector" `
    -Name "LogLevel" -Value 3 -PropertyType DWORD -Force
Restart-Service PFXCertificateConnectorSvc
Check logs at: C:\ProgramData\Microsoft\Intune\Logs\
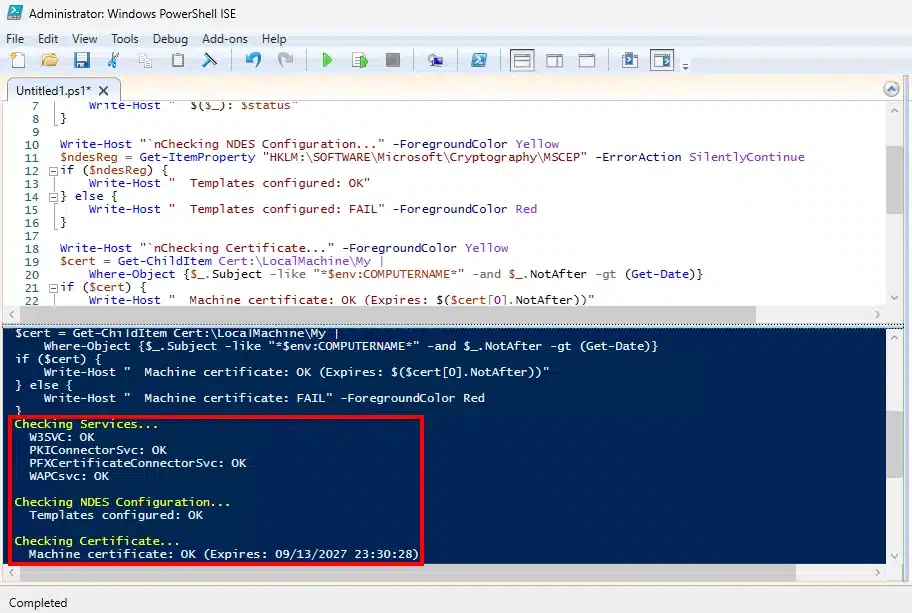
Validation Script
# NDES and Connector Health Check

Write-Host "Checking Services..." -ForegroundColor Yellow
@("W3SVC", "SCEP", "PFXCertificateConnectorSvc", "WAPCsvc") | ForEach-Object {
    $svc = Get-Service $_ -ErrorAction SilentlyContinue
    $status = if ($svc.Status -eq "Running") { "OK" } else { "FAIL" }
    Write-Host "  $($_): $status"
}

Write-Host "`nChecking NDES Configuration..." -ForegroundColor Yellow
$ndesReg = Get-ItemProperty "HKLM:\SOFTWARE\Microsoft\Cryptography\MSCEP" -ErrorAction SilentlyContinue
if ($ndesReg) {
    Write-Host "  Templates configured: OK"
} else {
    Write-Host "  Templates configured: FAIL" -ForegroundColor Red
}

Write-Host "`nChecking Certificate..." -ForegroundColor Yellow
$cert = Get-ChildItem Cert:\LocalMachine\My |
    Where-Object {$_.Subject -like "*$env:COMPUTERNAME*" -and $_.NotAfter -gt (Get-Date)}
if ($cert) {
    Write-Host "  Machine certificate: OK (Expires: $($cert[0].NotAfter))"
} else {
    Write-Host "  Machine certificate: FAIL" -ForegroundColor Red
}
Production Considerations
This is just a lab setup, so the default setup doesn’t stray too far from the path. The environment won’t be as streamlined in an AD-environment that has been around the block and seen some action. For production deployments you could also consider:
- Install the Application Proxy connector on a dedicated server
- Use multiple connectors for high availability
- Implement Conditional Access policies for the Application Proxy application
- Monitor certificate expiration and automate renewal
- Consider Cloud PKI for greenfield deployments
Summary
The combination of Microsoft Entra Application Proxy and the Intune Certificate Connector enables secure certificate deployment without exposing internal infrastructure. While newer cloud-native solutions may be simpler for new deployments, this approach provides a bridge for organizations with existing PKI investments.
Next, we’ll integrate these certificates with Cisco ISE for 802.1X network authentication.
What approach are you using for certificate deployment in your environment?