

Introduction: Why (yet) another lab?
Since I found myself so often building (yet) another lab, either a Config Manager spin-off, or a highly specific build that was really a one-off, I wanted to standardize a new complete lab infrastructure using Hyper-V with Windows Server 2022.
There were also a few must-haves I wanted on the list
- A modern, separate firewall with advanced routing and management capabilities
- A simple and secure network environment which ensured both isolated security and flexibility
- A portable and scripted setup which is quick to both re-establish and migrate
Lab architecture overview
Network design
- External network: Wi-Fi connection through pfSsense WAN interface
- Internal network:
10.50.50.0/24private network switch with pfSense as gateway - Domain:
core.hawkweave.com(subdomain approach for clean separation)
The 10.50.50.x-range has just stuck with from previous gigs I think. There’s nothing wrong of course with using the “main” 10.0.0.x-range, or other RFC 1918 private network ranges like 172.16.0.0 or 192.168.0.0.
Infrastructure components
- HAWKWEAVE-FIREWALL: pfSense 2.7.2 (1GB RAM, Generation 1)
- HAWKWEAVE-DC01: Windows Server 2022 Datacenter Domain Controller (4GB RAM, dynamic)
- HAWKWEAVE-CLIENT01: Windows 11 LTSC clients (4GB RAM, dynamic)
- HAWKWEAVE-CLIENT02: Same as CLIENT01 (or a variant)
The clients can be any operating system really, but found that the latest Windows 11 LTSC clients are good for the above mentioned standardization. If you prefer, you can of course select any Windows client operating system.
Resources and Download links (other links at the end as well)
- pfSense Downloads: https://www.pfsense.org/download/
- Windows Server 2022 Evaluation: https://www.microsoft.com/en-us/evalcenter/evaluate-windows-server-2022
- Windows 11 Enterprise Evaluation (including LTSC): https://www.microsoft.com/en-us/evalcenter/download-windows-11-enterprise
NOTE: For pfSense, Netgate provides this link for offline installers, for instance when the Netgate Installer doesn’t work for you. You can find the direct links here: https://atxfiles.netgate.com/mirror/downloads/
Virtual Switch configuration
First, I created the network foundation with two virtual switches:
# External switch for internet connectivity
New-VMSwitch -Name "LabNet-External" -NetAdapterName "Wi-Fi" -AllowManagementOS $true

# Private switch for internal lab network
New-VMSwitch -Name "LabNet-Lan" -SwitchType Private
The external switch connects to my Wi-Fi adapter and shares the connection with the host OS. (AllowManagementOS $true), providing a functional yet secure setup. The private switch creates a completely isolated internal network.
Creating the pfSense Firewall VM
The firewall serves as the gateway between the external internet and our internal lab network:
# Create VHD file first (20GB dynamically expanding)
New-VHD -Path "C:\Hyper-V\VHDs\HAWKWEAVE-FIREWALL.vhdx" -SizeBytes 20GB -Dynamic

# Create pfSense Firewall VM
New-VM -Name "HAWKWEAVE-FIREWALL" -MemoryStartupBytes 1GB -BootDevice VHD -VHDPath "C:\Hyper-V\VHDs\HAWKWEAVE-FIREWALL.vhdx" -Path "C:\Hyper-V\VMs\" -Generation 1 -Switch "LabNet-External"

# Configure firewall settings (static memory for predictable performance)
Set-VM -Name "HAWKWEAVE-FIREWALL" -ProcessorCount 2 -StaticMemory -MemoryStartupBytes 1GB -AutomaticCheckpointsEnabled $false

# Add DVD drive and mount pfSense ISO
Add-VMDvdDrive -VMName "HAWKWEAVE-FIREWALL" -Path "C:\ISO\pfSense\pfSense-CE-2.7.2-RELEASE-amd64.iso"

# Set boot order to DVD first (Generation 1)
Set-VMBios -VMName "HAWKWEAVE-FIREWALL" -StartupOrder @("CD", "IDE", "LegacyNetworkAdapter", "Floppy")

# Add second network adapter for LAN
Add-VMNetworkAdapter -VMName "HAWKWEAVE-FIREWALL" -SwitchName "LabNet-Lan"
Main configuration highlights:
- Generation 1 VM: Better compatibility with pfSense / FreeBSD, and it strictly doesn’t need Gen 2 UEFI hardware either
- Static memory: Prevents memory balloning that could affect performance
- Dual NICs: WAN interface on external network, LAN interface on the private network
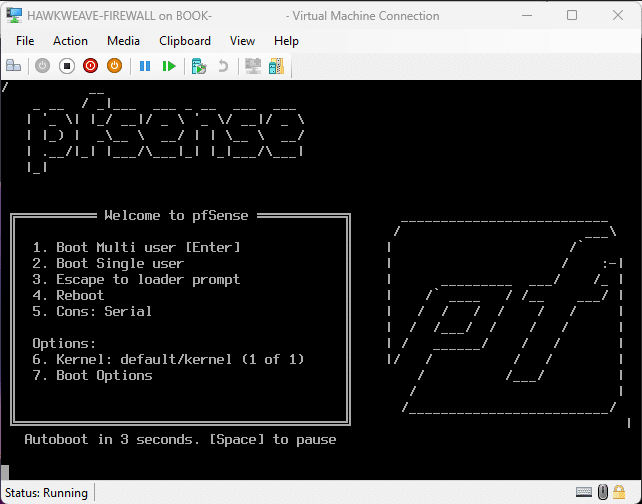
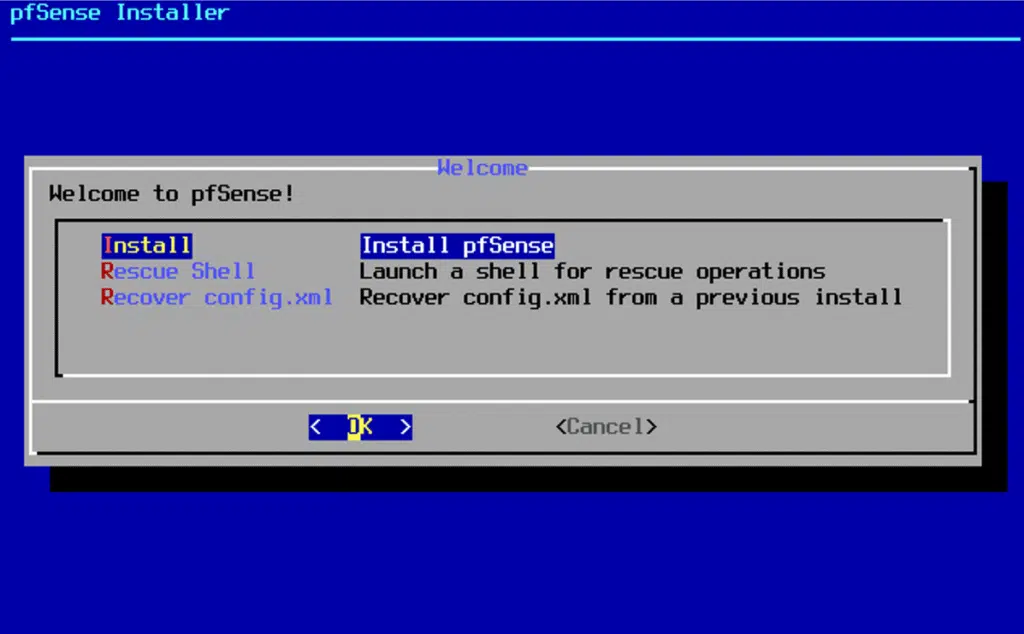
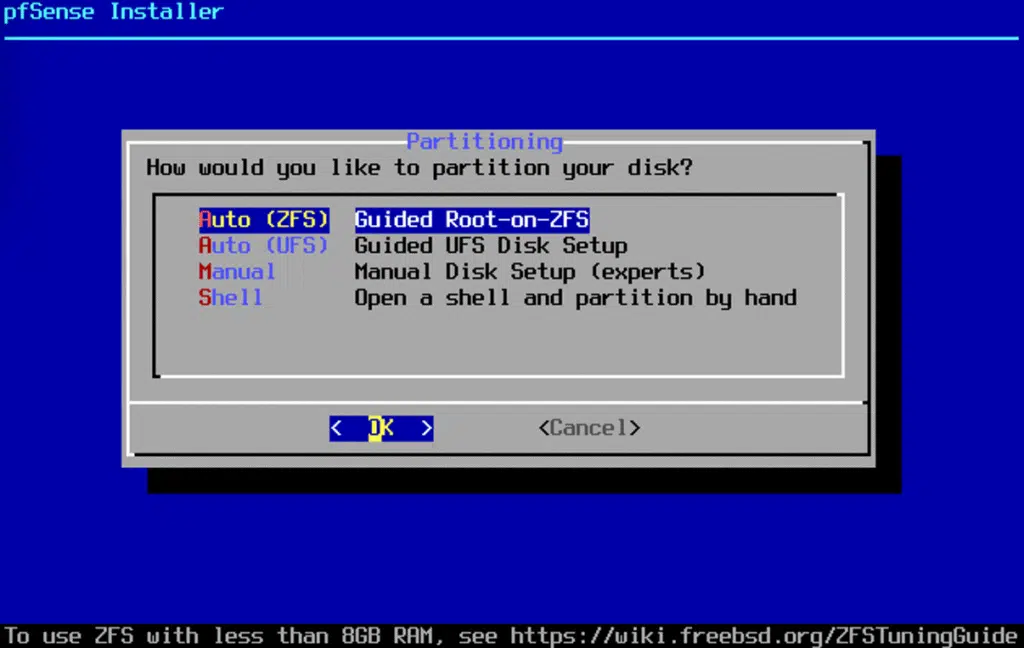
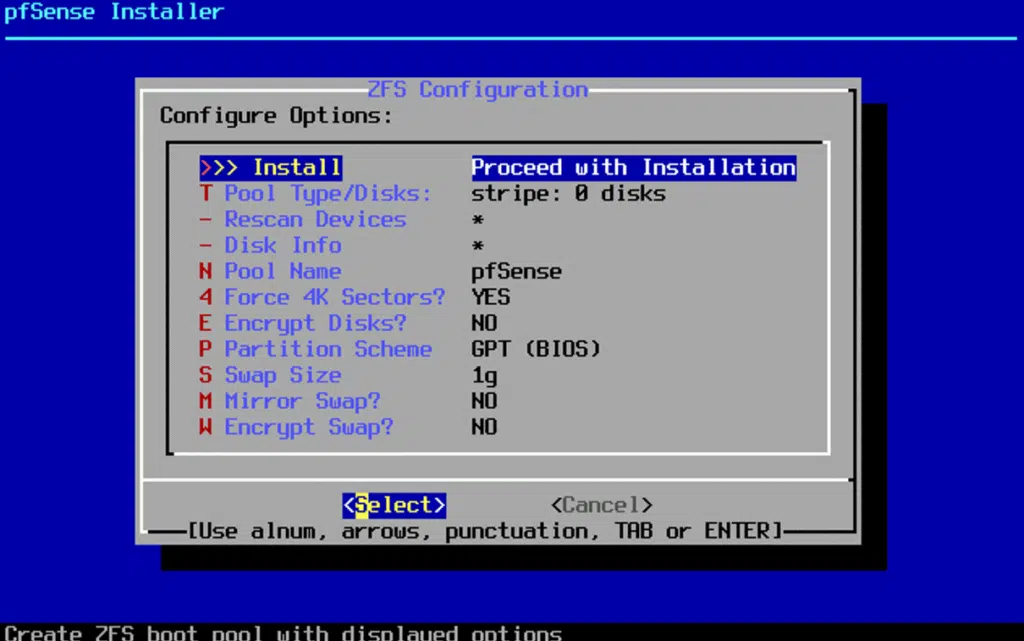
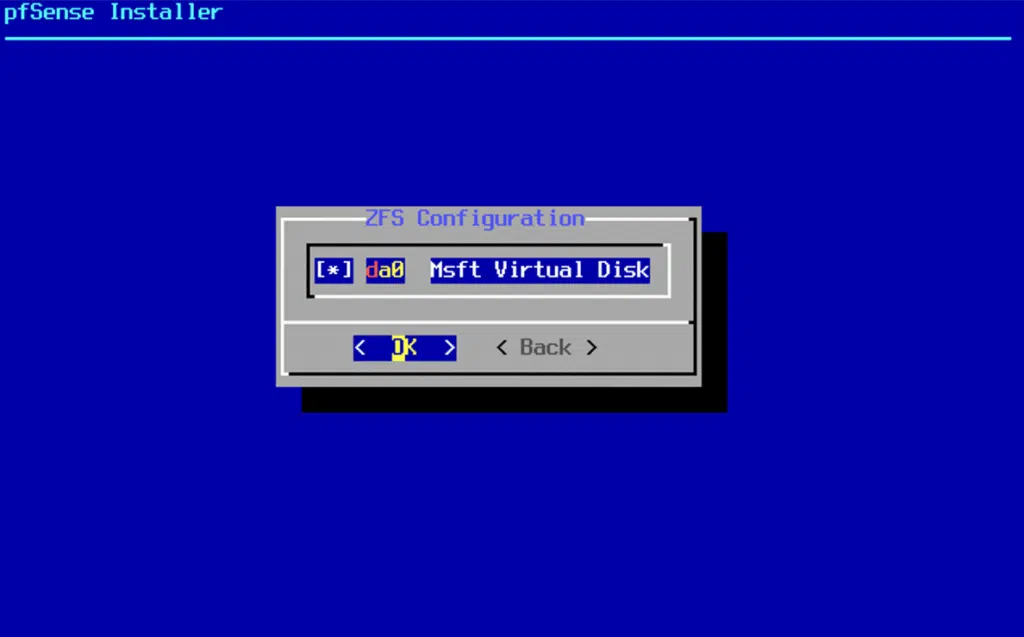
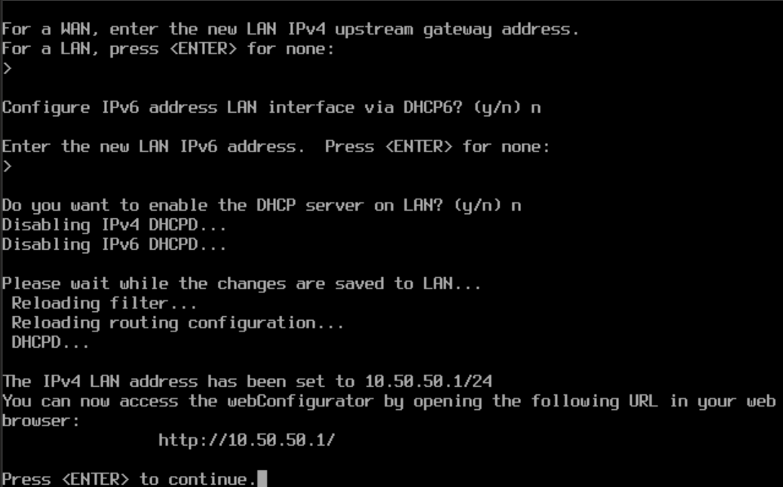
pfSense Installation and configuration
The pfSense installation process is rather straightforward but requires you pay attention to the network interface assignment. I added both of the adapters to the VM before assigning them in pfSense since I had a general idea of which order they would be presented to me, but you can certainly add one by one to be sure you configure the right one at any given moment.
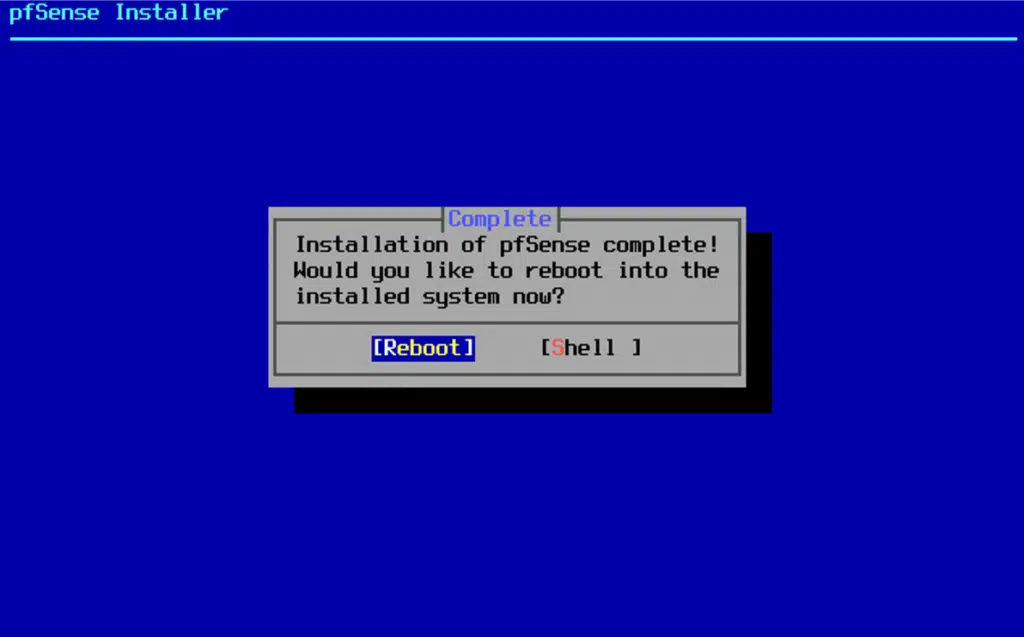

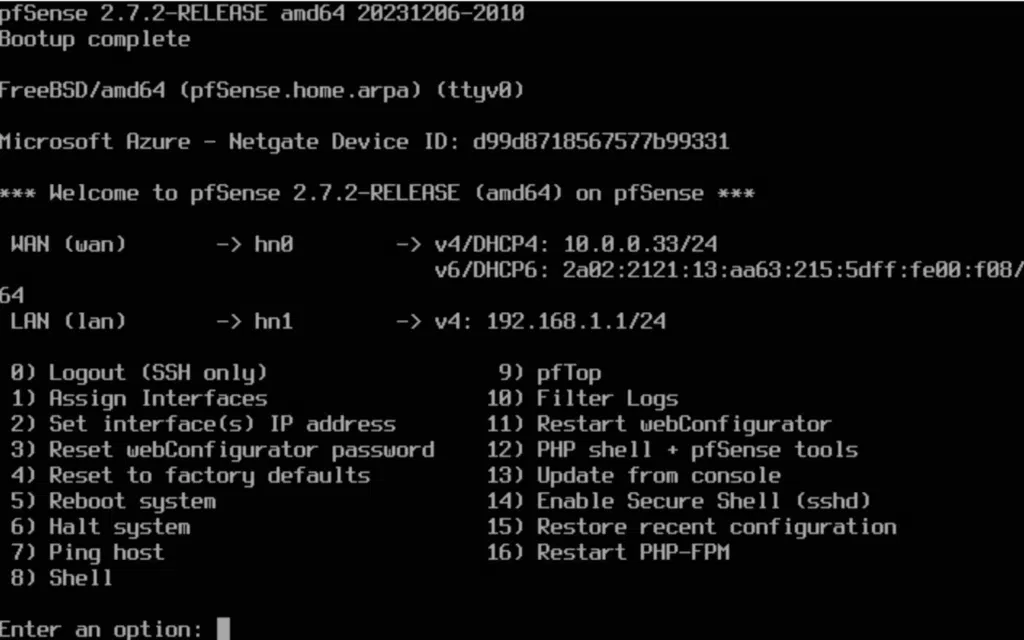
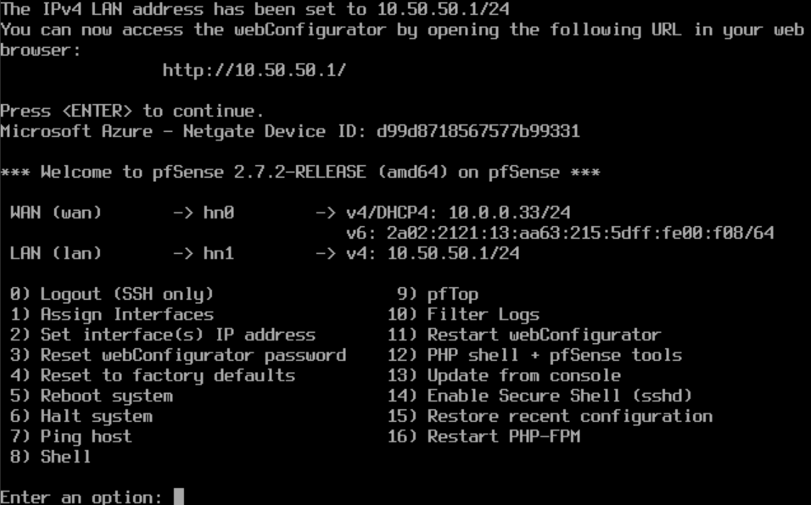
After installation, pfSense automatically detects the network interfaces:
- WAN interface: hn0 (connected to LabNet-External)
- LAN interface: hn1 (connected to LabNet-Lan)
Network configuration
- WAN: received DHCP from our home router (10.0.0.33/24 in my case)
- LAN: static IP
10.50.50.1/24 - Web interface: configured and accessible at
http://10.50.50.1
Creating the Domain Controller
Next, I built the Windows Server 2022 Datacenter Domain Controller
# Create VHD file first (32GB dynamically expanding)
New-VHD -Path "C:\Hyper-V\VHDs\HAWKWEAVE-DC01.vhdx" -SizeBytes 32GB -Dynamic

# Create Domain Controller VM
New-VM -Name "HAWKWEAVE-DC01" -MemoryStartupBytes 4GB -BootDevice VHD -VHDPath "C:\Hyper-V\VHDs\HAWKWEAVE-DC01.vhdx" -Path "C:\Hyper-V\VMs\" -Generation 2 -Switch "LabNet-Lan"

# Configure DC settings
Set-VM -Name "HAWKWEAVE-DC01" -ProcessorCount 2 -DynamicMemory -AutomaticCheckpointsEnabled $false
Set-VMFirmware -VMName "HAWKWEAVE-DC01" -EnableSecureBoot On

# Enable TPM for modern security features
Set-VMKeyProtector -VMName "HAWKWEAVE-DC01" -NewLocalKeyProtector
Enable-VMTPM -VMName "HAWKWEAVE-DC01"

# Add DVD drive and mount Windows Server ISO
Add-VMDvdDrive -VMName "HAWKWEAVE-DC01" -Path "C:\ISO\Server 2022\en-us_windows_server_2022_updated_may_2025_x64_dvd_0146f834.iso"

# Set boot order to DVD first
Set-VMFirmware -VMName "HAWKWEAVE-DC01" -BootOrder (Get-VMDvdDrive -VMName "HAWKWEAVE-DC01"), (Get-VMHardDiskDrive -VMName "HAWKWEAVE-DC01")

# Enable Integration Services for better management
Enable-VMIntegrationService -VMName "HAWKWEAVE-DC01" -Name "Guest Service Interface"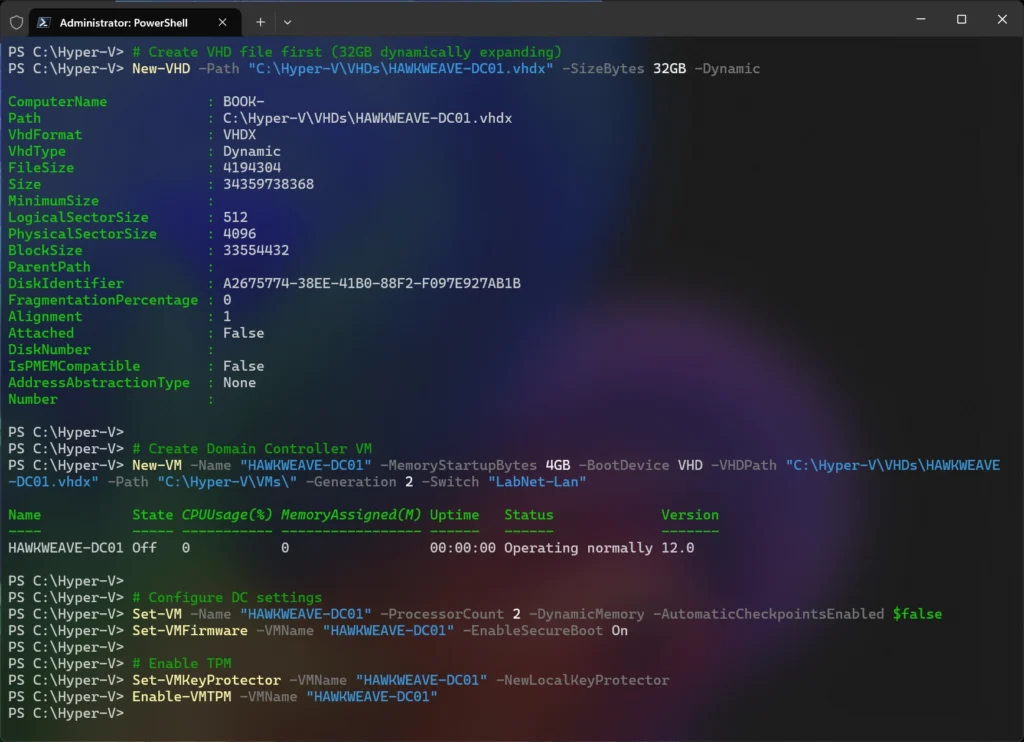
Main configuration highlights:
- Dynamic memory: starts at 4GB, but can scale based on load (most importantly, scale down..)
- TPM enabled: Required for modern security features and BitLocker
- 32GB VHD: More than sufficient for AD, DNS, and DHCP services – also dynamic
- Integration services: Guest services on for enhanced VM management (
Copy-VMFileamong others)
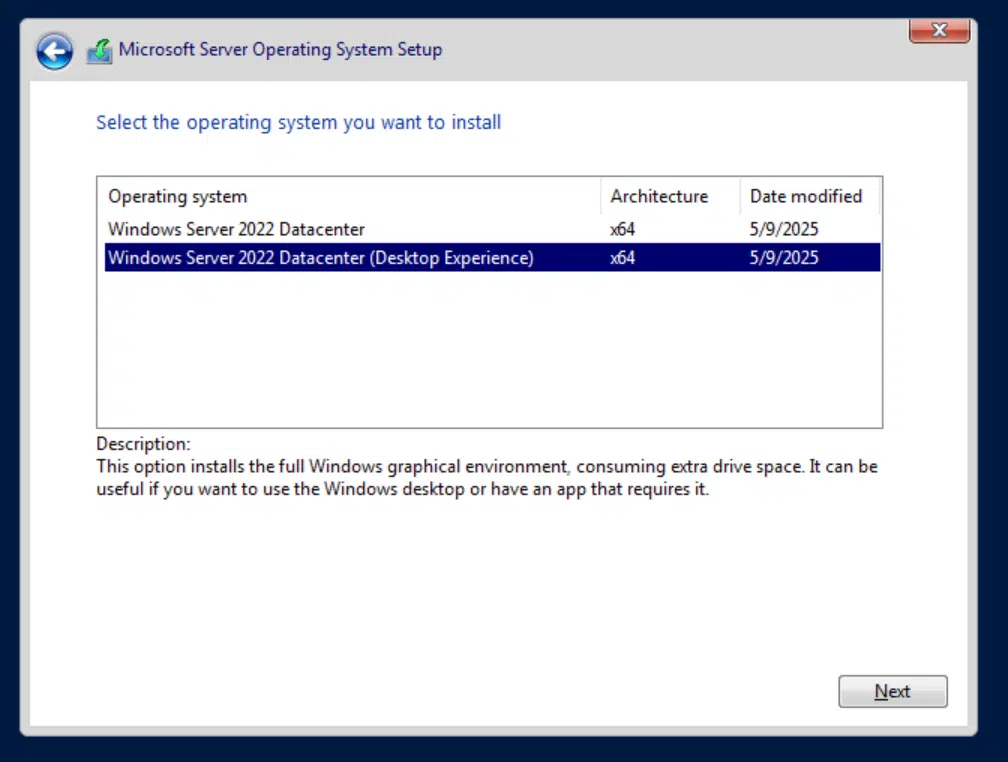
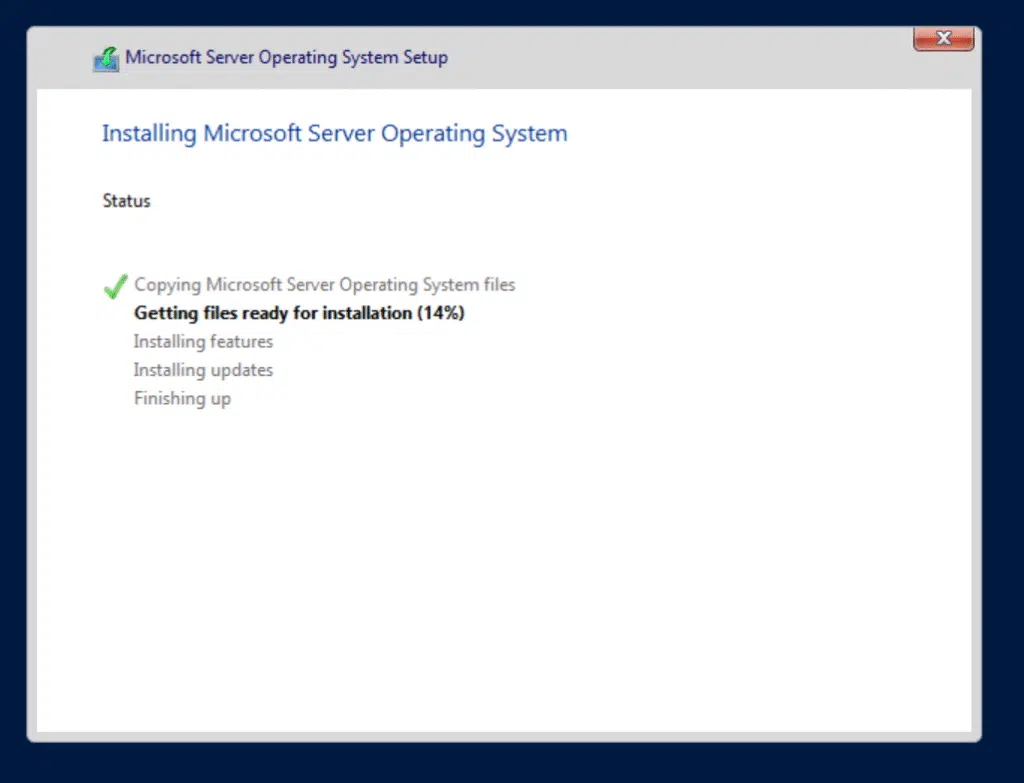
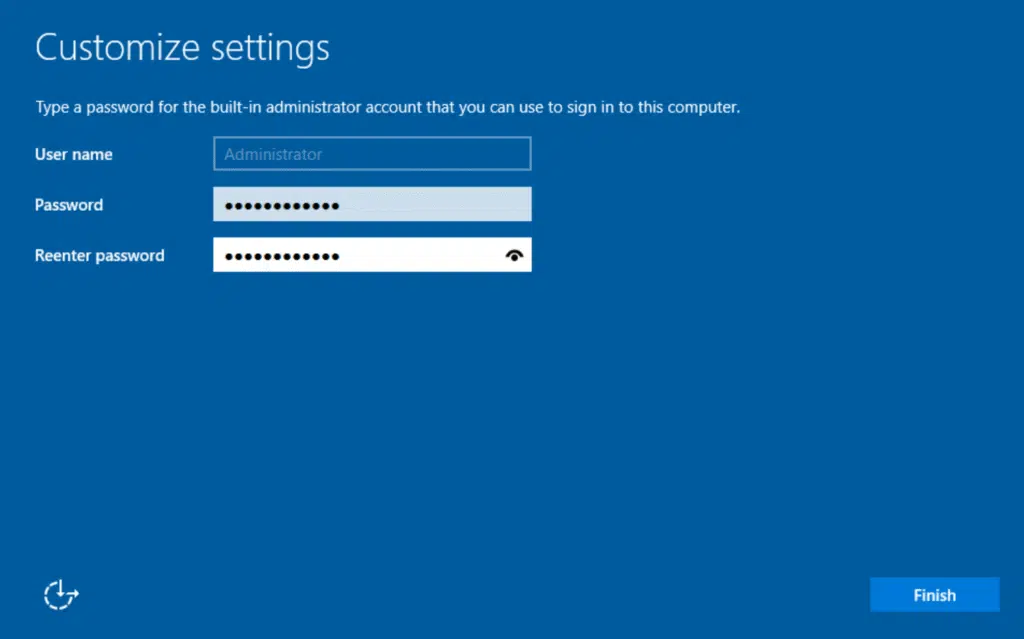
Installation consists of the usual steps, mostly click Next to continue.

Server preparation: Setting up the basics
Before jumping into the domain controller promotion, we need to get the basic server configuration sorted out. Fresh Windows Server installations always have those random computer names and DHCP network settings, which isn’t what you want for a server, let alone a DC.
First thing then was changing the computer name from whatever random WIN-ABCD1234 name it had to something sensible:
# Rename the server to HW-DC01
Rename-Computer -NewName "HW-DC01" -Restart
After the reboot, I changed the network configuration. Even though my DHCP scope wasn’t set up yet, the server had picked up an IP from my home router’s DHCP. I needed to convert this to a static configuration that would work properly as a domain controller:
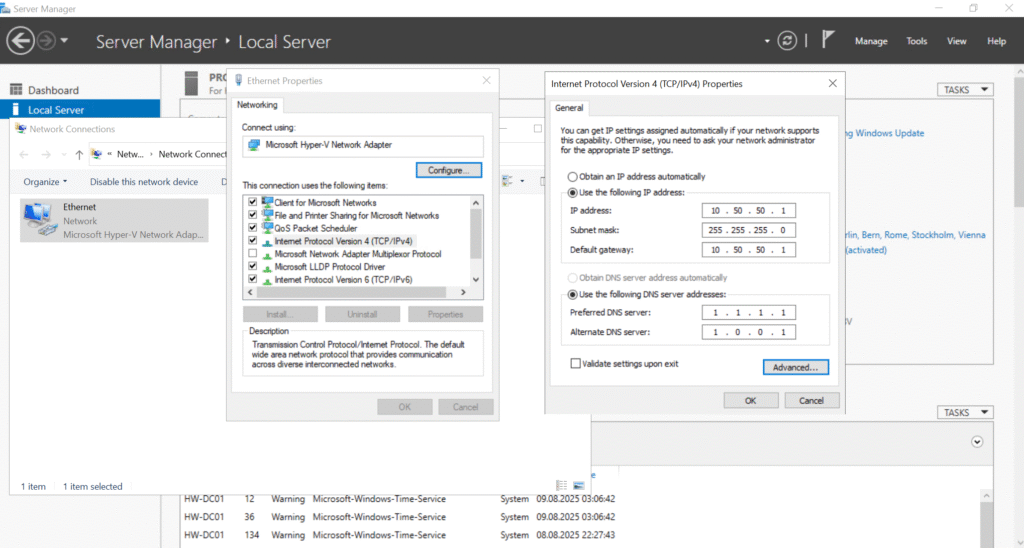
I went with 10.50.50.10 for the DC for two reasons – to reserve space for future network equipment (on .2 through .9) and because it’s basically then the “first” server in the network, and kept 10.50.50.1 for the pfSense gateway (which we will be configuring shortly).
The DNS servers I set to Cloudflare’s public DNS (1.1.1.1 and 1.0.0.1) for now. I knew that when I promoted the server to a domain controller later, these would automatically become DNS forwarders while the server itself became the primary DNS server – exactly what we want to happen.
Here’s a PowerShell snippet in case automation is your thing:
# Get the current network adapter
$adapter = Get-NetAdapter | Where-Object {$_.Status -eq "Up"}

# Remove any existing IP configuration
$adapter | Remove-NetIPAddress -Confirm:$false -ErrorAction SilentlyContinue
$adapter | Remove-NetRoute -Confirm:$false -ErrorAction SilentlyContinue

# Set static IP configuration
New-NetIPAddress -InterfaceAlias $adapter.Name -IPAddress "10.50.50.10" -PrefixLength 24 -DefaultGateway "10.50.50.1"

# Set DNS servers (Cloudflare for now, will become forwarders later)
Set-DnsClientServerAddress -InterfaceAlias $adapter.Name -ServerAddresses "1.1.1.1","1.0.0.1"
After another reboot to make sure the network settings were sticking, I ran Windows Updates. This is always a good idea before doing anything really. You especially want to be sure you have the latest KBs on a freshly promoted domain controller.
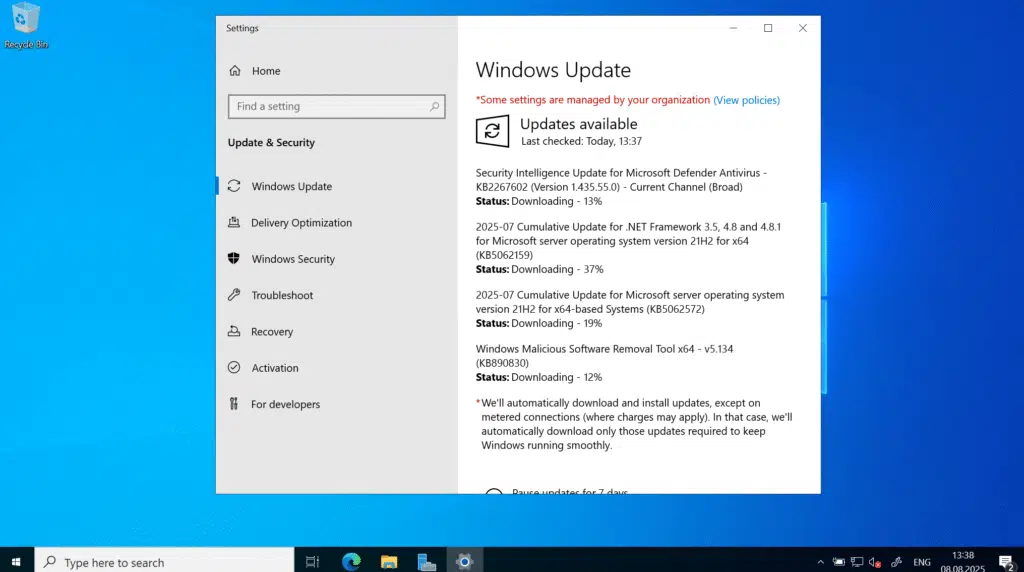
With the server properly prepared, it’s time to promote it to a domain controller.
Domain setup: why the subdomain?
I went with core.hawkweave.com this time as the domain name instead of the main and public hawkweave.com. This follows enterprise best practices for a couple of reasons.
DNS Split-brain avoidance: Using the public domain internally causes DNS resolution issues where internal clients can’t reach external hawkweave.com resources.
Certificate Management: Public SSL certificates won’t work properly with internal domain controllers using public domain names.
M365 integration: Clean separation allows users to have @hawkweave.com UPNs for M365 while authentication against core.hawkweave.com.
Professional standards: Most enterprises use subdomains like hq or corp.company.com or ad.company.com for internal AD anyway.
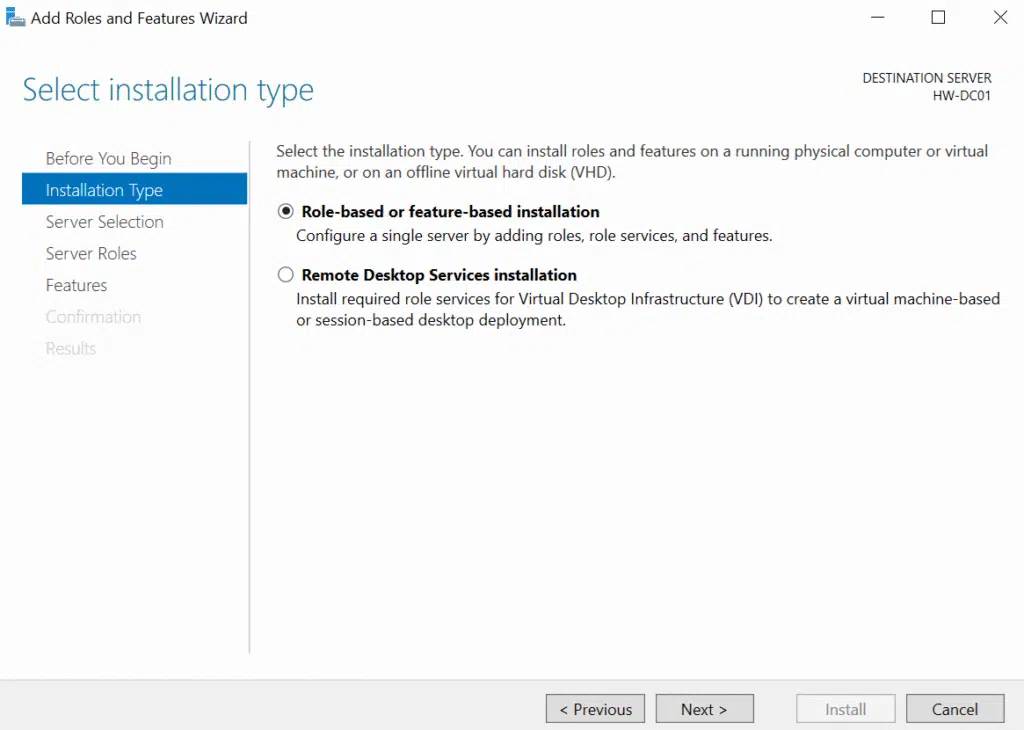
The wizard is pretty straightforward these days. I selected Role-based installation, picked my server, and then selected the three main roles I needed:
- Active Directory Domain Services (the core DC functionality)
- DNS Server (essential for AD to work properly)
- DHCP Server (to handle IP assignments for the lab)
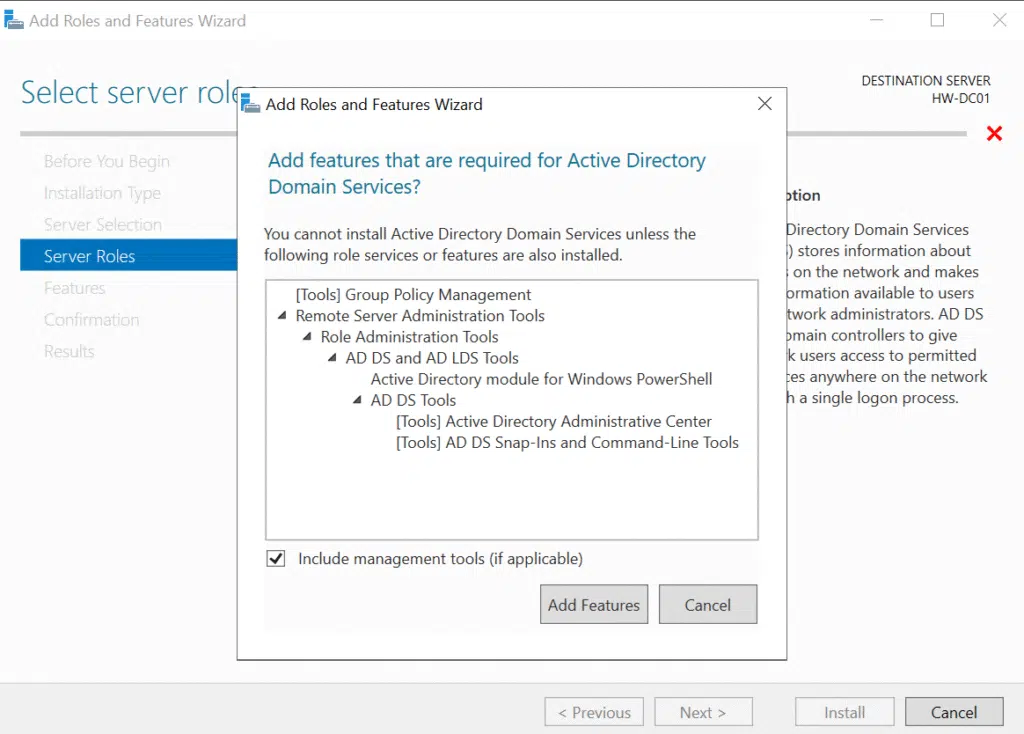
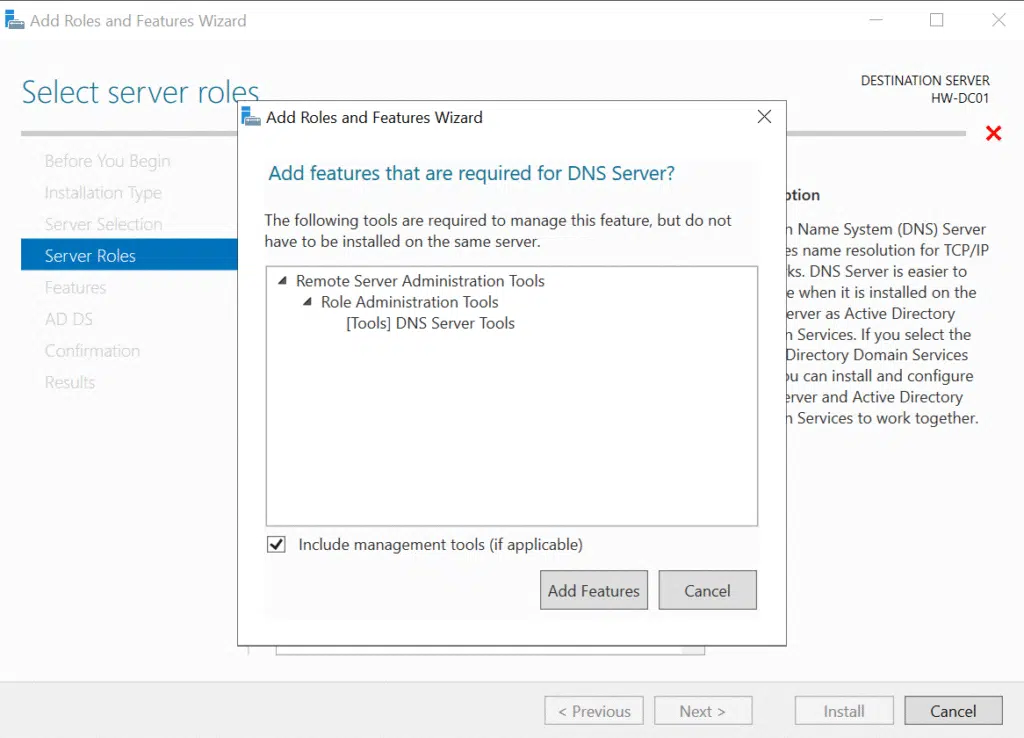
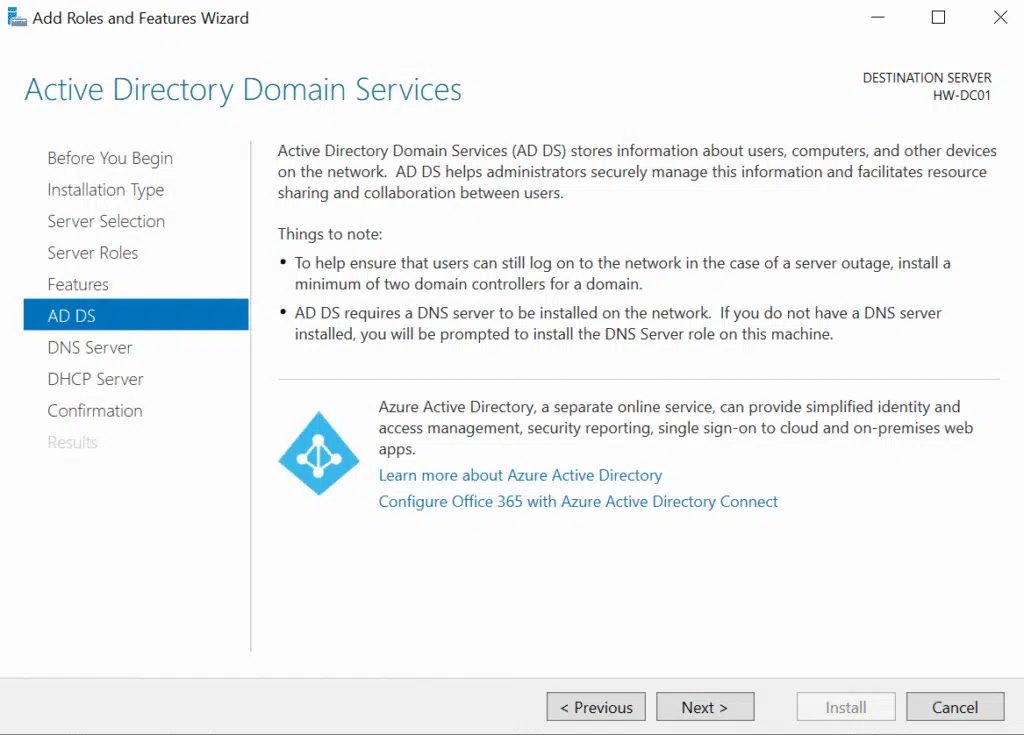
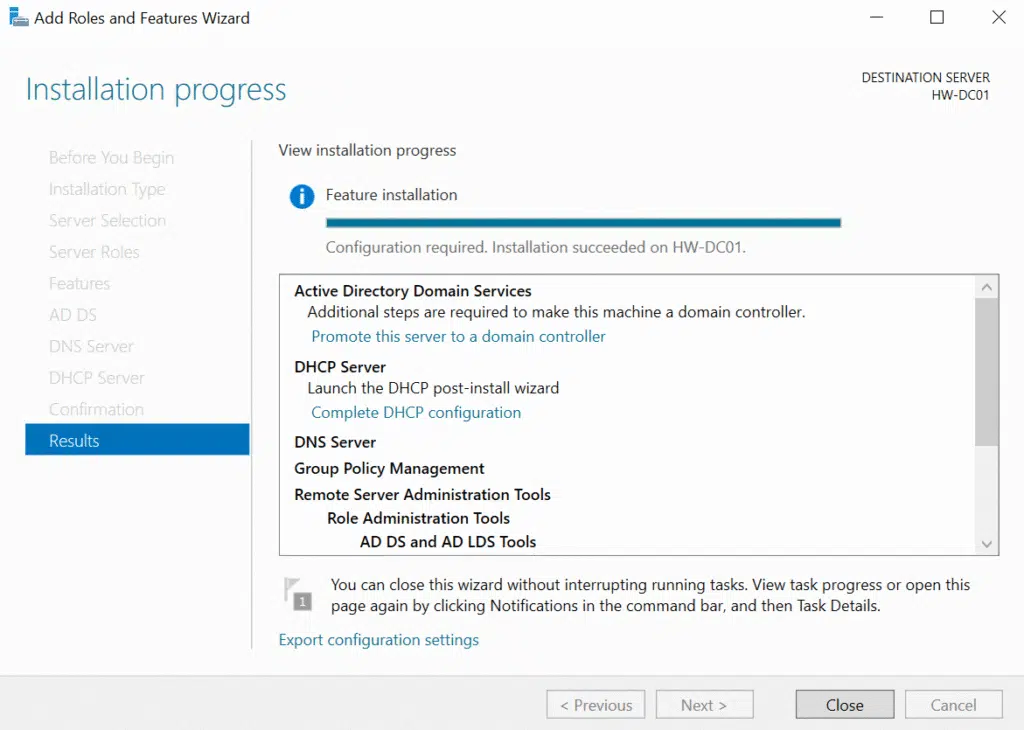
The wizard automatically flagged the dependencies and additional features needed for each role, which I accepted. Once the installation finished, I still had the post-deployment configuration to handle – that’s where the real domain controller setup happens.
After clicking Close in the windows above, I clicked on the notification flag in Server Manager and selected “Promote this server to a domain controller.” This launches the AD DS Configuration Wizard, which is where you make all the “big” decisions.
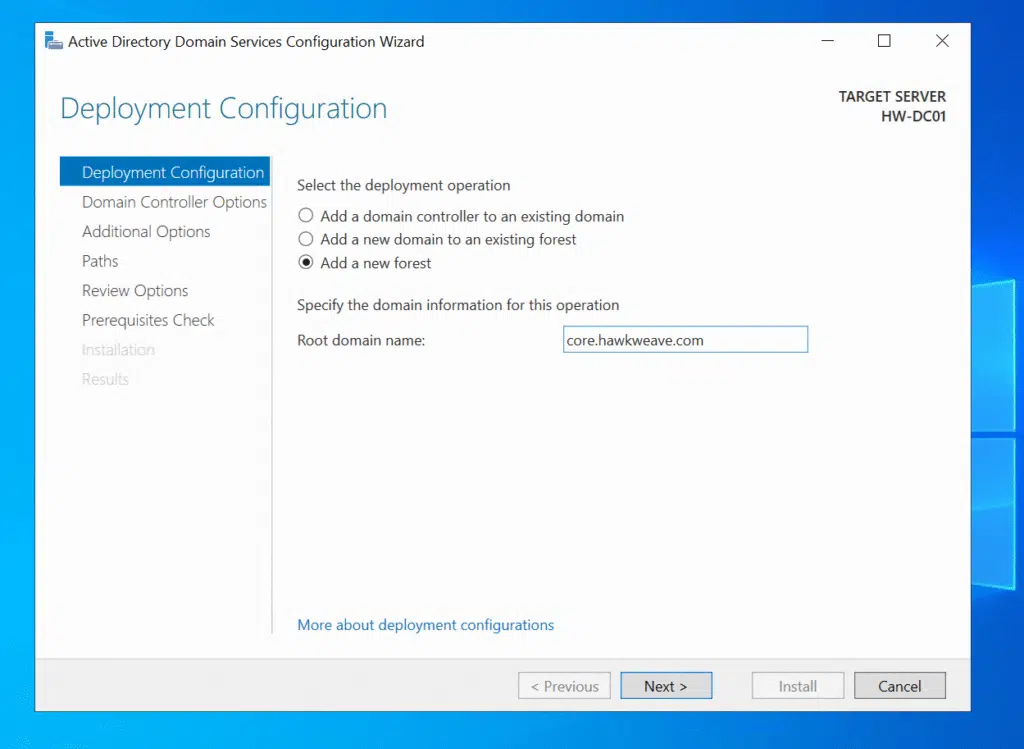
Since I was building a completely new environment, I chose “Add a new forest” and entered core.hawkweave.com as the root domain name. For the forest functional level, I went with Windows Server 2016. It gives you all the modern features while maintaining compatibility with most environments I encounter in client work.
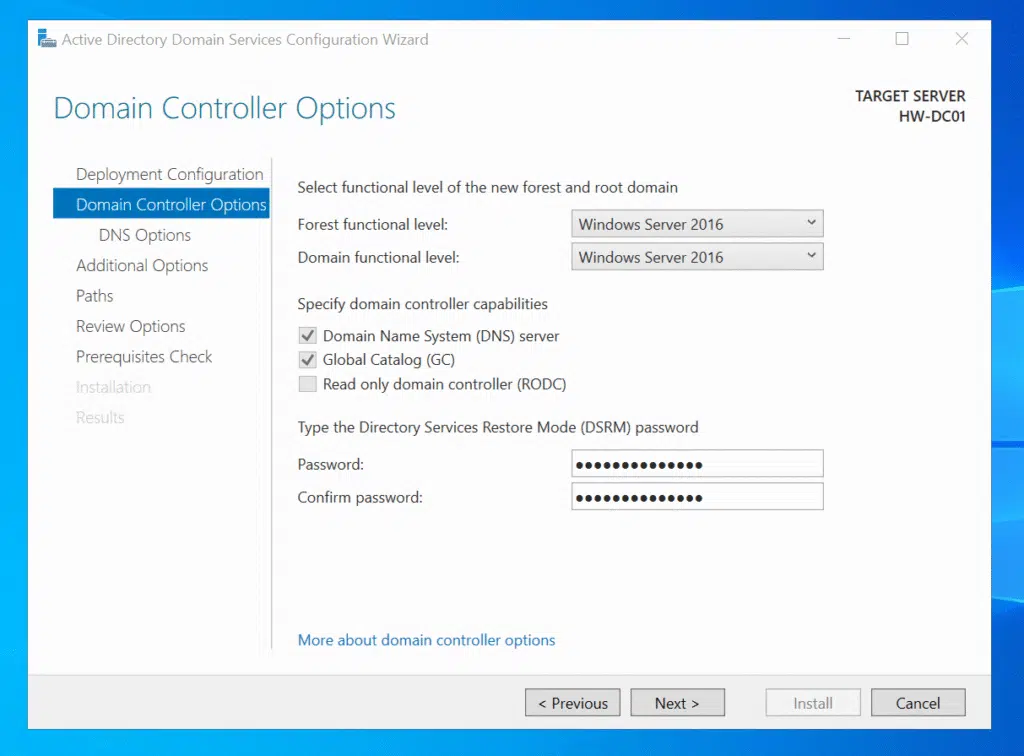
The DSRM (Directory Services Restore Mode) password is something you hopefully never need, but when you do need it, you really need it. I set this to the same password I was using for other admin accounts in the lab. This is only fine for lab environments though…
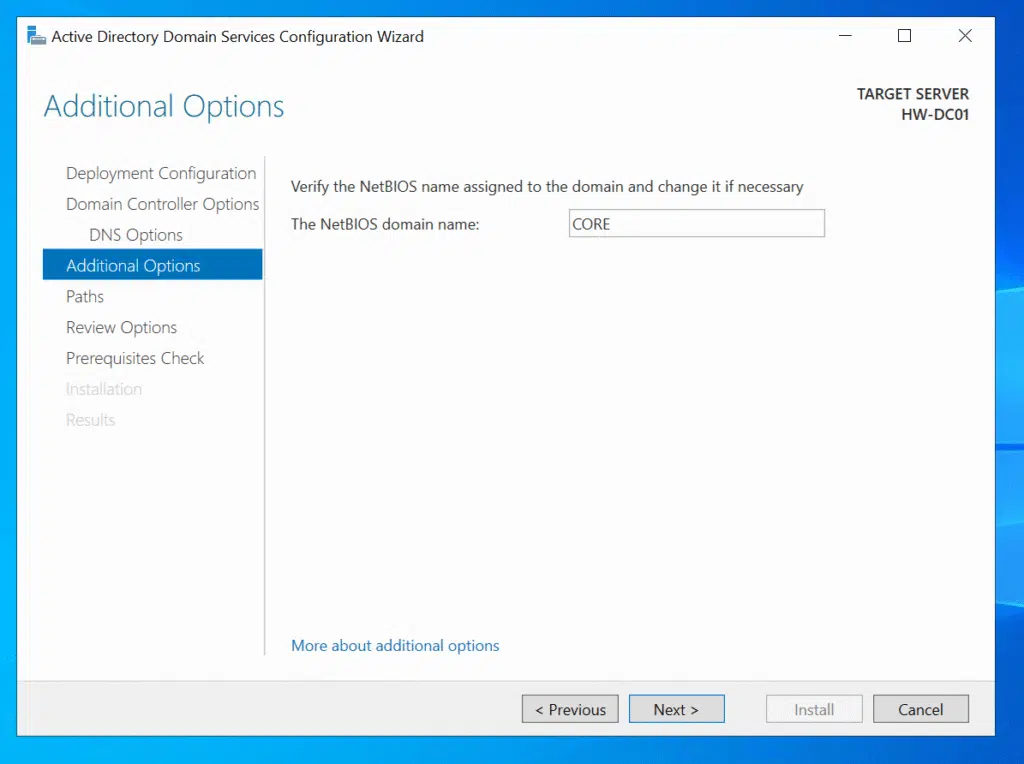
CORE as the NetBIOS name based on my domain name, which is totally fine.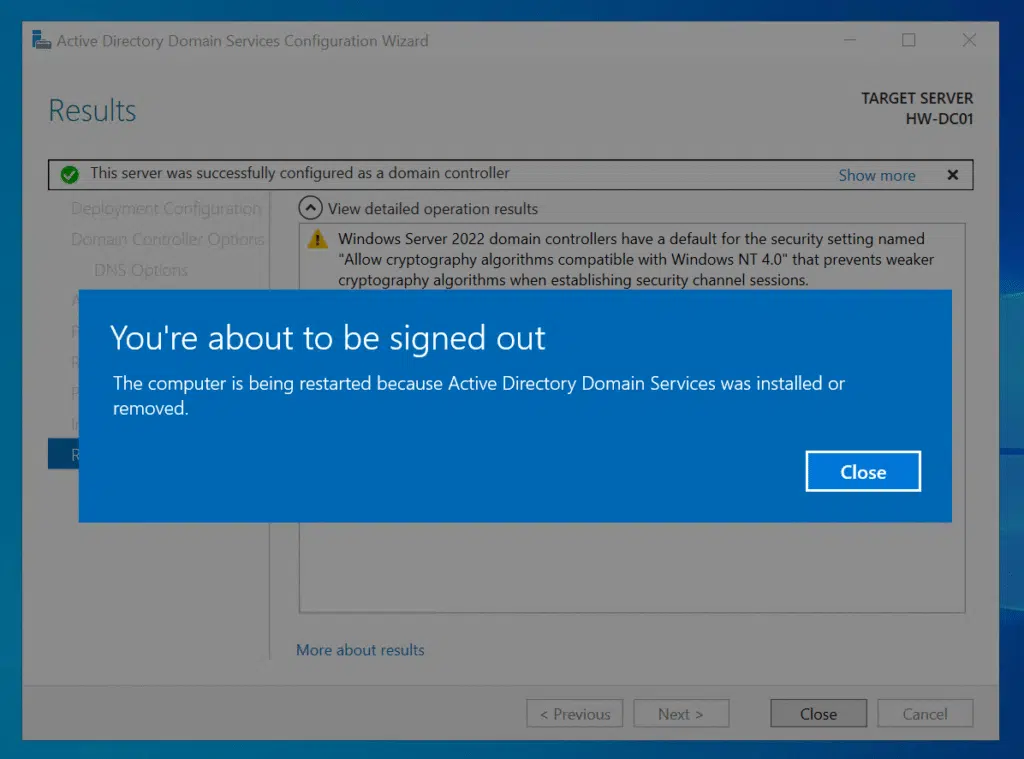
After running through the prerequisites check (which passed without issues), the promotion process began. This takes a few minutes while it sets up the database, SYSVOL, configures DNS zones, and handles all the other domain controller initialization tasks.
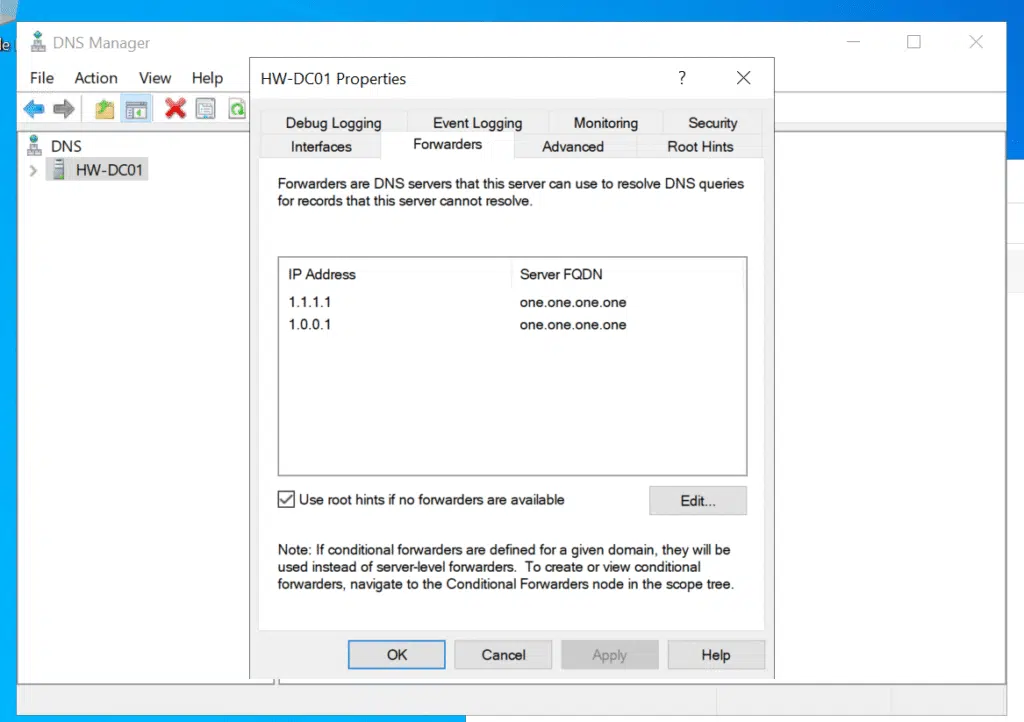
The promotion went smoothly, and I love how Windows Server automatically configured the DNS forwarders when it detected my existing DNS settings (1.1.1.1 and 1.0.0.1). It just converts them to forwarders while setting itself as the primary DNS server.
After the automatic reboot that completes the promotion process, I had a fully functional domain controller (almost) ready for business. Just DHCP and a few tweaks left now.
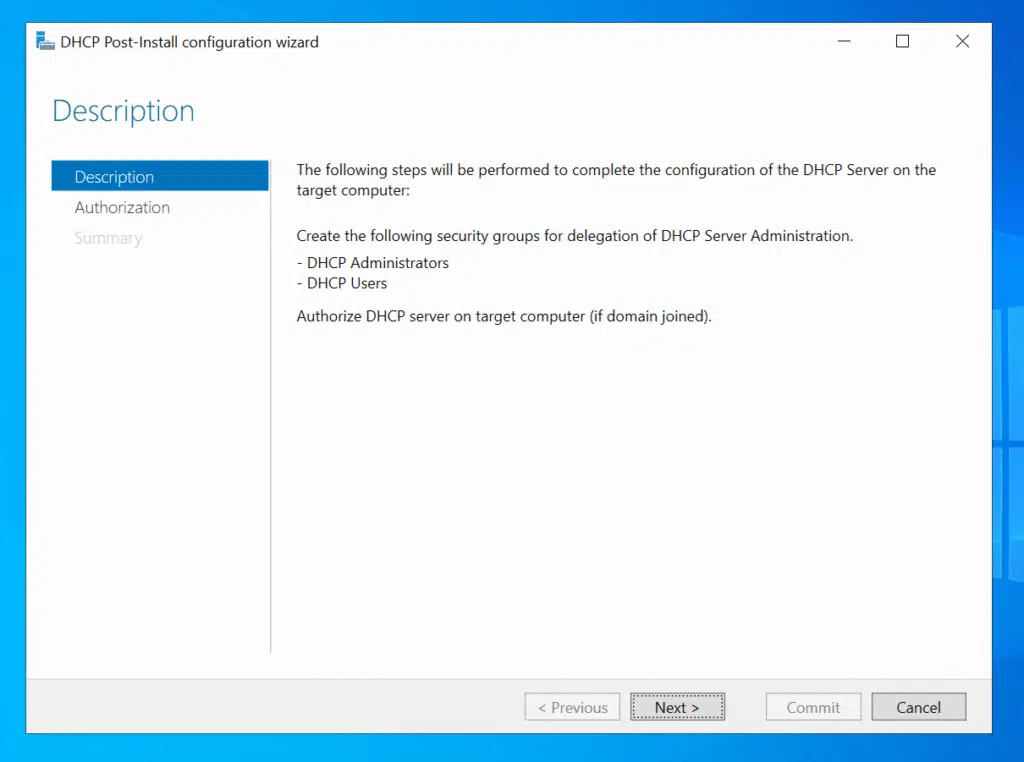
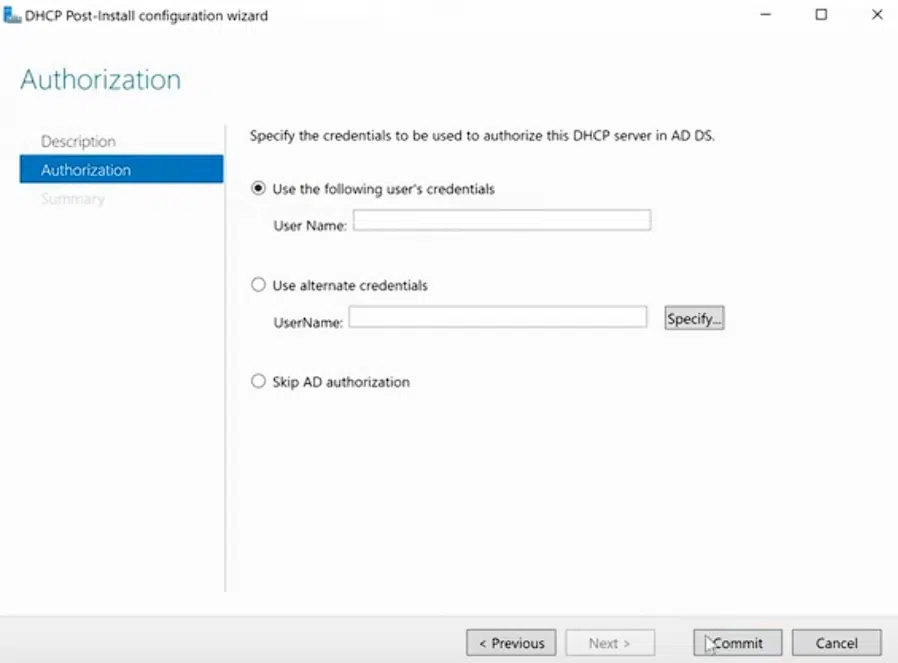
DHCP: Setting up easy IP management
The DHCP post-install wizard has just a single step where you can select which account used to bind the DHCP service to AD DS.
IP allocation strategy for my lab is mostly about reserving a proper allotment for for servers and infrastructure, and also reserve a bit on the tail-end as well for other stuff we might need down the line.
Clients (and the odd server) will start getting IPs from 10.50.50.100 through 10.50.50.199.
I’ll see if can include VLANs and separate client ranges in the near future, or in an improved standard lab version. I could for example use the 172.16.x.x range for clients, and have them separated from the main infra!
# Create the DHCP scope (DHCP role already installed via Add Roles and Features)
Add-DhcpServerv4Scope -Name "Hawkweave-Core-LAN" -StartRange 10.50.50.1 -EndRange 10.50.50.254 -SubnetMask 255.255.255.0 -LeaseDuration 7.00:00:00 -Description "Main LAN scope for Hawkweave core infrastructure"

# Create exclusions for static infrastructure
Add-DhcpServerv4ExclusionRange -ScopeId 10.50.50.0 -StartRange 10.50.50.1 -EndRange 10.50.50.99    # Infrastructure & Servers
Add-DhcpServerv4ExclusionRange -ScopeId 10.50.50.0 -StartRange 10.50.50.200 -EndRange 10.50.50.254  # Reserved range

# Configure the essential options
Set-DhcpServerv4OptionValue -ScopeId 10.50.50.0 -OptionId 3 -Value 10.50.50.1   # Default Gateway (pfSense)
Set-DhcpServerv4OptionValue -ScopeId 10.50.50.0 -OptionId 6 -Value 10.50.50.10  # DNS Server (HW-DC01)

# Activate and authorize
Set-DhcpServerv4Scope -ScopeId 10.50.50.0 -State Active
Add-DhcpServerInDC -DnsName "HW-DC01.core.hawkweave.com" -IPAddress 10.50.50.10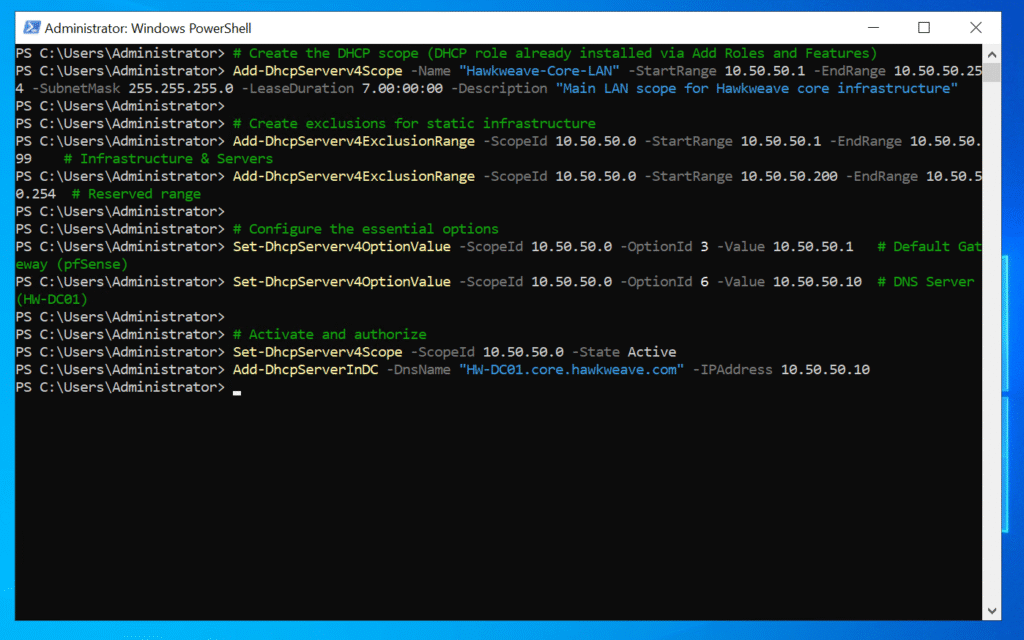
This gives us:
- 10.50.50.1-99: Static IPs for infrastructure (DC is at .10, future CA at .20, NDES at .30, etc.)
- 10.50.50.100-199: DHCP pool for clients and temporary devices
- 10.50.50.200-254: Reserved for network equipment and future expansion
User Accounts: Keeping it simple for Lab use
I created two main accounts with a consistent password scheme for demo purposes:
# Domain admin account
New-ADUser -Name "Hawkweave Administrator" -SamAccountName "hwadmin" -UserPrincipalName "hwadmin@hawkweave.com" -GivenName "Hawkweave" -Surname "Administrator" -DisplayName "Hawkweave Administrator" -AccountPassword (ConvertTo-SecureString "<redacted>" -AsPlainText -Force) -Enabled $true -PasswordNeverExpires $true

# Add to all the admin groups
"Domain Admins","Enterprise Admins","Schema Admins","Administrators","Group Policy Creator Owners" | ForEach-Object { Add-ADGroupMember -Identity $_ -Members "hwadmin" }

# Standard user for testing
New-ADUser -Name "Hawkweave Operator" -SamAccountName "hwoperator" -UserPrincipalName "hwoperator@hawkweave.com" -GivenName "Hawkweave" -Surname "Operator" -DisplayName "Hawkweave Operator" -AccountPassword (ConvertTo-SecureString "<redacted>" -AsPlainText -Force) -Enabled $true -PasswordNeverExpires $true

# Create the Operators group (using SamAccountName for identity)
New-ADGroup -Name "Hawkweave Operators" -SamAccountName "HawkweaveOperators" -GroupCategory Security -GroupScope Global -DisplayName "Hawkweave Operators" -Description "Standard operators for Hawkweave systems"

# Add hwoperator to the group (using SamAccountName)
Add-ADGroupMember -Identity "HawkweaveOperators" -Members "hwoperator"
Organizing with proper OUs
I created a proper OU structure to keep everything organized:
# Create main Hawkweave OU
New-ADOrganizationalUnit -Name "Hawkweave" -Path "DC=core,DC=hawkweave,DC=com" -Description "Main OU for Hawkweave organization"

# Create sub-OUs for better organization
New-ADOrganizationalUnit -Name "Users" -Path "OU=Hawkweave,DC=core,DC=hawkweave,DC=com" -Description "Hawkweave user accounts"
New-ADOrganizationalUnit -Name "Groups" -Path "OU=Hawkweave,DC=core,DC=hawkweave,DC=com" -Description "Hawkweave security and distribution groups"
New-ADOrganizationalUnit -Name "Computers" -Path "OU=Hawkweave,DC=core,DC=hawkweave,DC=com" -Description "Hawkweave computers and workstations"
New-ADOrganizationalUnit -Name "Servers" -Path "OU=Hawkweave,DC=core,DC=hawkweave,DC=com" -Description "Hawkweave servers"
New-ADOrganizationalUnit -Name "Service Accounts" -Path "OU=Hawkweave,DC=core,DC=hawkweave,DC=com" -Description "Service accounts for applications"
Added a few Department sub-OUs for future-proofing while we’re at it:
# Create department-based user OUs
New-ADOrganizationalUnit -Name "IT Department" -Path "OU=Users,OU=Hawkweave,DC=core,DC=hawkweave,DC=com"
New-ADOrganizationalUnit -Name "Operations" -Path "OU=Users,OU=Hawkweave,DC=core,DC=hawkweave,DC=com"
New-ADOrganizationalUnit -Name "Management" -Path "OU=Users,OU=Hawkweave,DC=core,DC=hawkweave,DC=com"

# Create computer type sub-OUs
New-ADOrganizationalUnit -Name "Workstations" -Path "OU=Computers,OU=Hawkweave,DC=core,DC=hawkweave,DC=com"
New-ADOrganizationalUnit -Name "Laptops" -Path "OU=Computers,OU=Hawkweave,DC=core,DC=hawkweave,DC=com"
Then I moved all the Hawkweave-specific objects out of the default containers and into their proper OUs. It makes everything much cleaner and sets up nicely for Group Policy targeting later.
# Move hwadmin to Hawkweave Users OU
Move-ADObject -Identity "CN=Hawkweave Administrator,CN=Users,DC=core,DC=hawkweave,DC=com" -TargetPath "OU=Users,OU=Hawkweave,DC=core,DC=hawkweave,DC=com"

# Move hwoperator to Hawkweave Users OU
Move-ADObject -Identity "CN=Hawkweave Operator,CN=Users,DC=core,DC=hawkweave,DC=com" -TargetPath "OU=Users,OU=Hawkweave,DC=core,DC=hawkweave,DC=com"

# Move Hawkweave groups (if created)
Move-ADObject -Identity "CN=HawkweaveOperators,CN=Users,DC=core,DC=hawkweave,DC=com" -TargetPath "OU=Groups,OU=Hawkweave,DC=core,DC=hawkweave,DC=com"
Move-ADObject -Identity "CN=LapsPasswordReadersGroup,CN=Users,DC=core,DC=hawkweave,DC=com" -TargetPath "OU=Groups,OU=Hawkweave,DC=core,DC=hawkweave,DC=com"
LAPS: Modern security made easy
This is a thing I tend to want to implement, but somehow never get around to. Now I thought I’ll just include it in the basic lab. The new Windows LAPS that’s built in is very much better.
# Extend the AD schema for LAPS
Import-Module LAPS
Update-LapsADSchema -Verbose

# Set permissions at the domain level (much simpler than per-OU)
Set-LapsADComputerSelfPermission -Identity "DC=core,DC=hawkweave,DC=com"

# Create a dedicated group for LAPS password access
New-ADGroup -Name "LapsPasswordReadersGroup" -SamAccountName "LapsPasswordReadersGroup" -GroupCategory Security -GroupScope Global -DisplayName "LAPS Password Readers Group" -Description "Members can read LAPS managed local administrator passwords"

Add-ADGroupMember -Identity "LapsPasswordReadersGroup" -Members "hwadmin"
Set-LapsADReadPasswordPermission -Identity "DC=core,DC=hawkweave,DC=com" -AllowedPrincipals "LapsPasswordReadersGroup"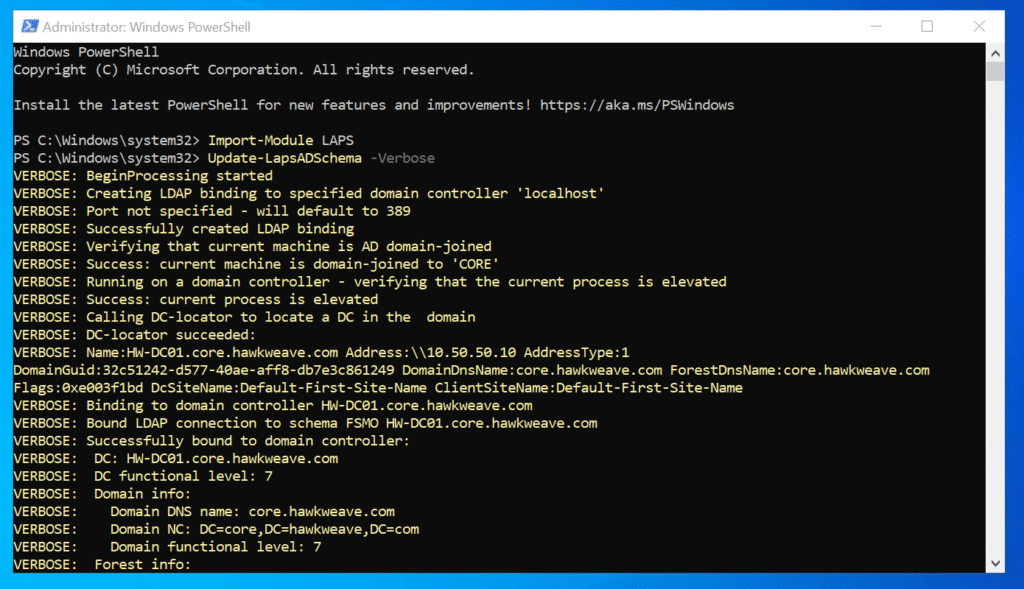
The Group Policy setup is straightforward too, just create a new GPO and link it to your topmost practical OU (or even the domain root). This makes it easier to manage, since it won’t automatically hijack Domain Controllers and special accounts anyway.
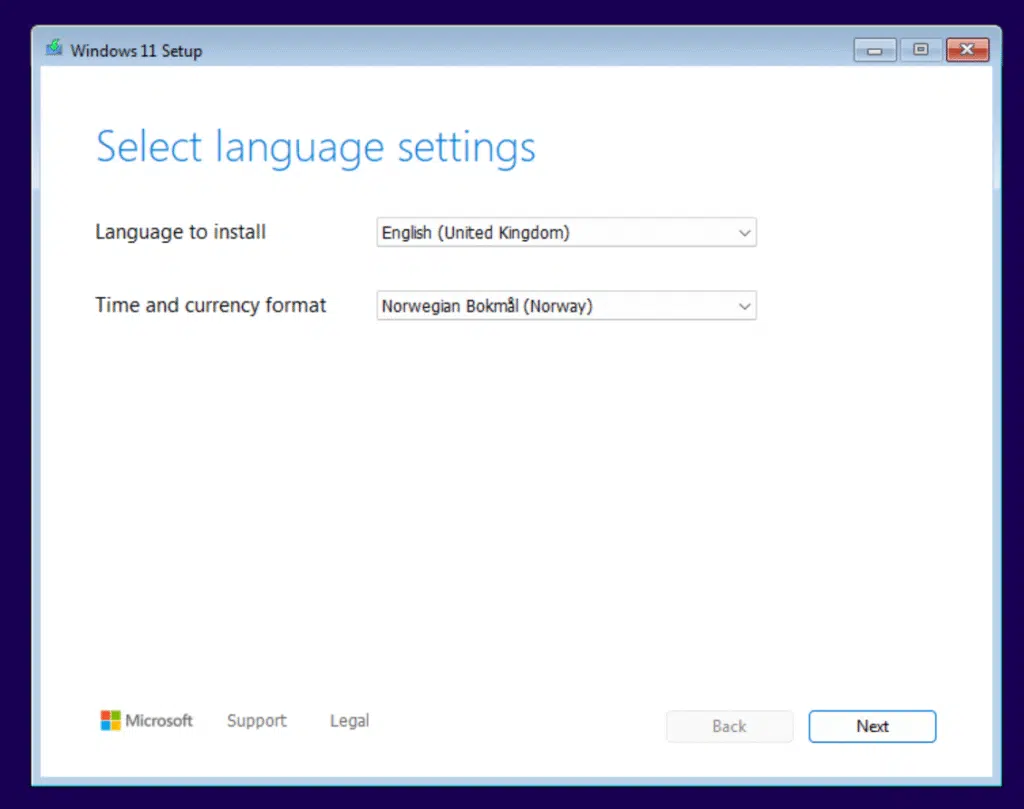
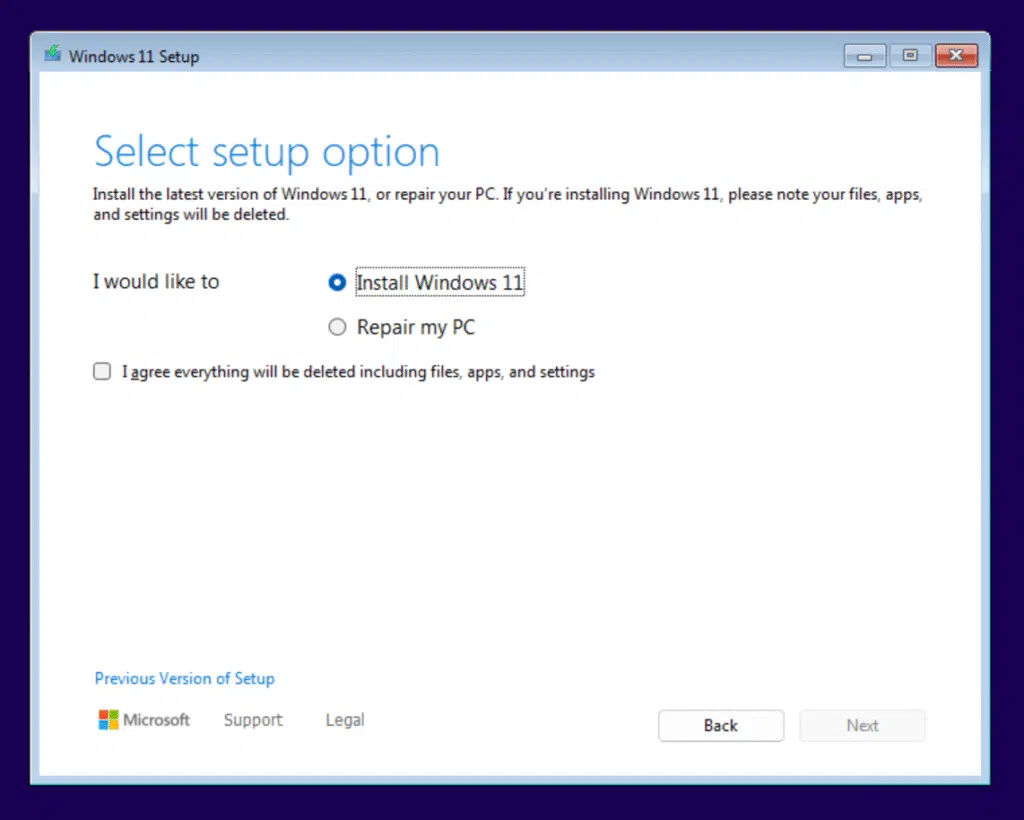
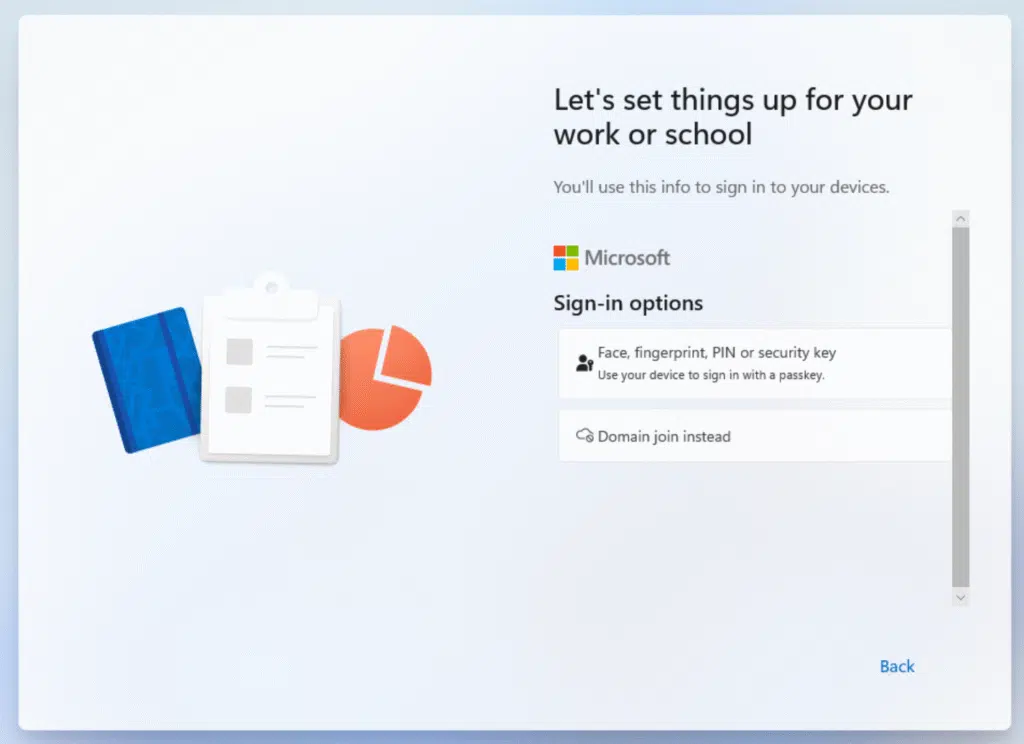
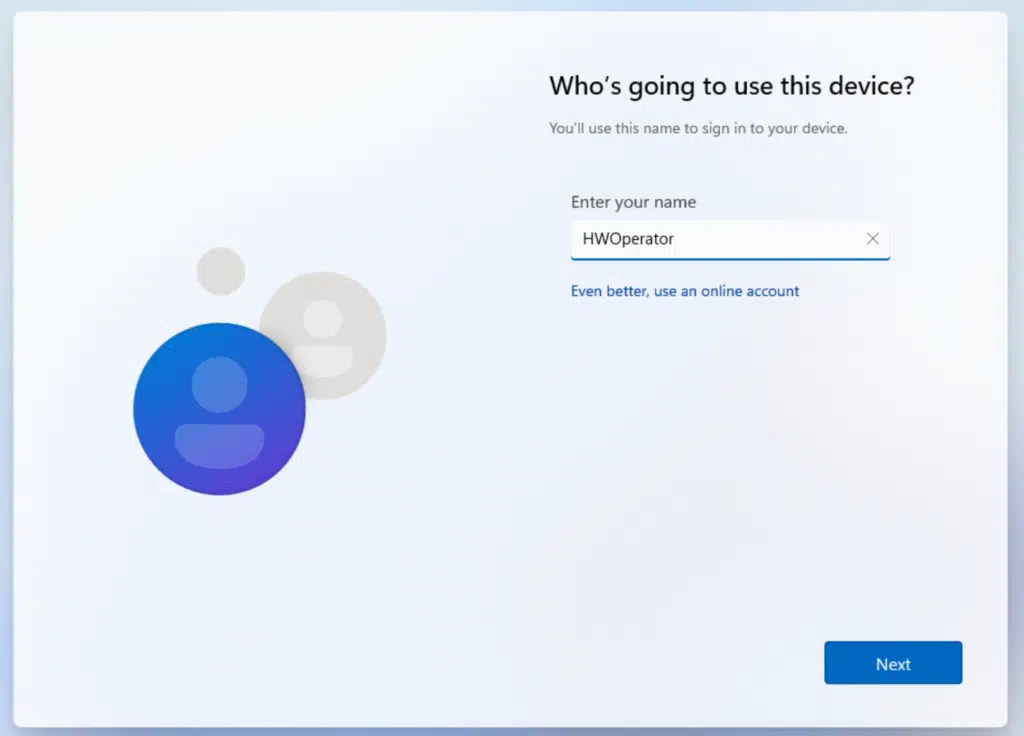
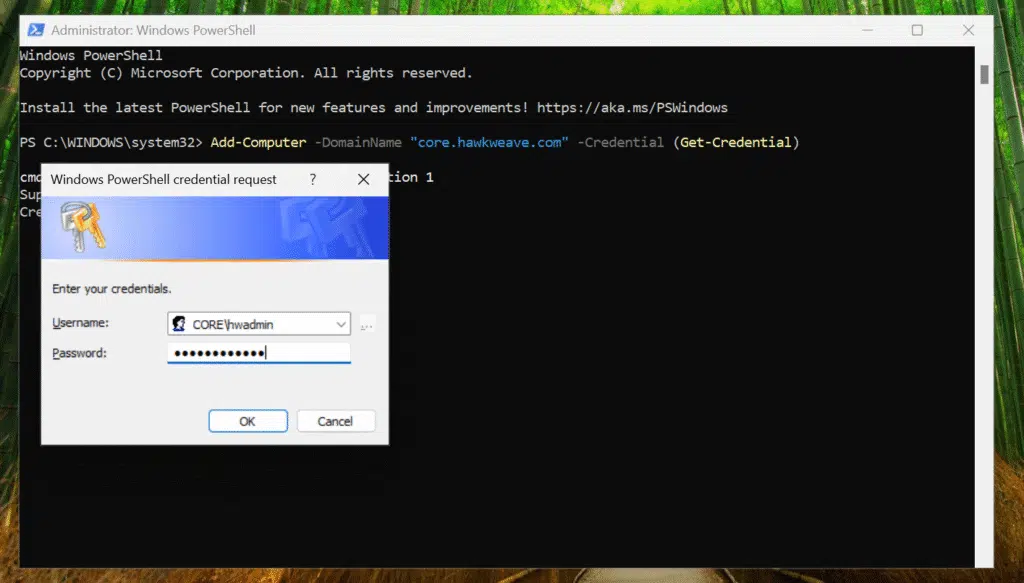
Windows 11 Clients: Testing the complete setup
Finally, I created a couple of Windows 11 LTSC clients to test everything:
# Create VHD file first (80GB dynamically expanding)
New-VHD -Path "C:\Hyper-V\VHDs\HAWKWEAVE-CLIENT01.vhdx" -SizeBytes 80GB -Dynamic

# Create Client 01 VM
New-VM -Name "HAWKWEAVE-CLIENT01" -MemoryStartupBytes 4GB -BootDevice VHD -VHDPath "C:\Hyper-V\VHDs\HAWKWEAVE-CLIENT01.vhdx" -Path "C:\Hyper-V\VMs\" -Generation 2 -Switch "LabNet-Lan"

# Configure client settings
Set-VM -Name "HAWKWEAVE-CLIENT01" -ProcessorCount 2 -DynamicMemory -MemoryMinimumBytes 2GB -MemoryMaximumBytes 16GB -AutomaticCheckpointsEnabled $false
Set-VMFirmware -VMName "HAWKWEAVE-CLIENT01" -EnableSecureBoot On

# Enable TPM
Set-VMKeyProtector -VMName "HAWKWEAVE-CLIENT01" -NewLocalKeyProtector
Enable-VMTPM -VMName "HAWKWEAVE-CLIENT01"

# Add DVD drive and mount ISO
Add-VMDvdDrive -VMName "HAWKWEAVE-CLIENT01" -Path "C:\ISO\W11 LTSC\en-gb_windows_11_enterprise_ltsc_2024_x64_dvd_e2137661.iso"

# Set boot order to DVD first (Generation 2)
Set-VMFirmware -VMName "HAWKWEAVE-CLIENT01" -BootOrder (Get-VMDvdDrive -VMName "HAWKWEAVE-CLIENT01"), (Get-VMHardDiskDrive -VMName "HAWKWEAVE-CLIENT01")

# Enable Integration Services with Guest Services
Enable-VMIntegrationService -VMName "HAWKWEAVE-CLIENT01" -Name "Guest Service Interface"
Installation takes place through the usual steps:
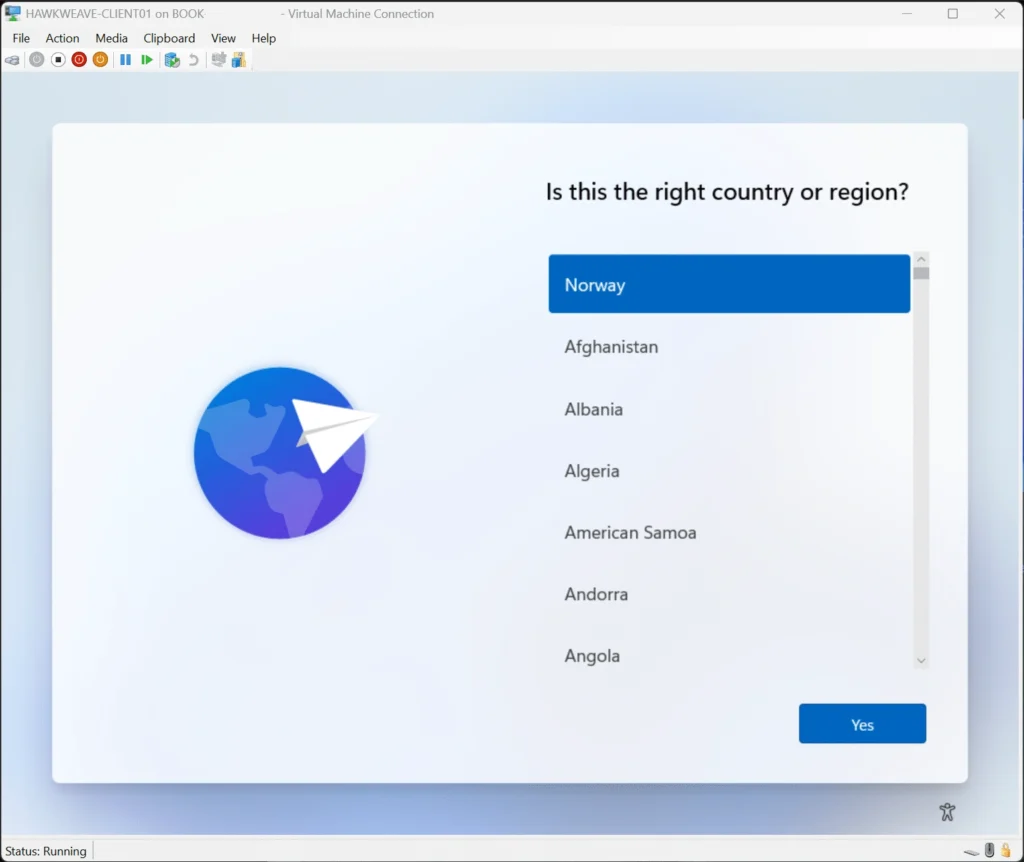
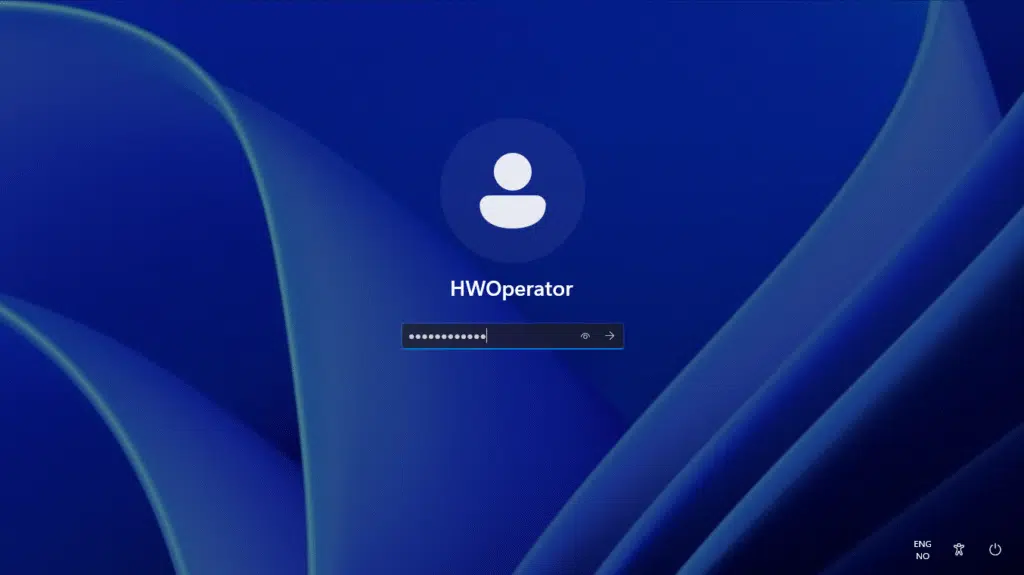
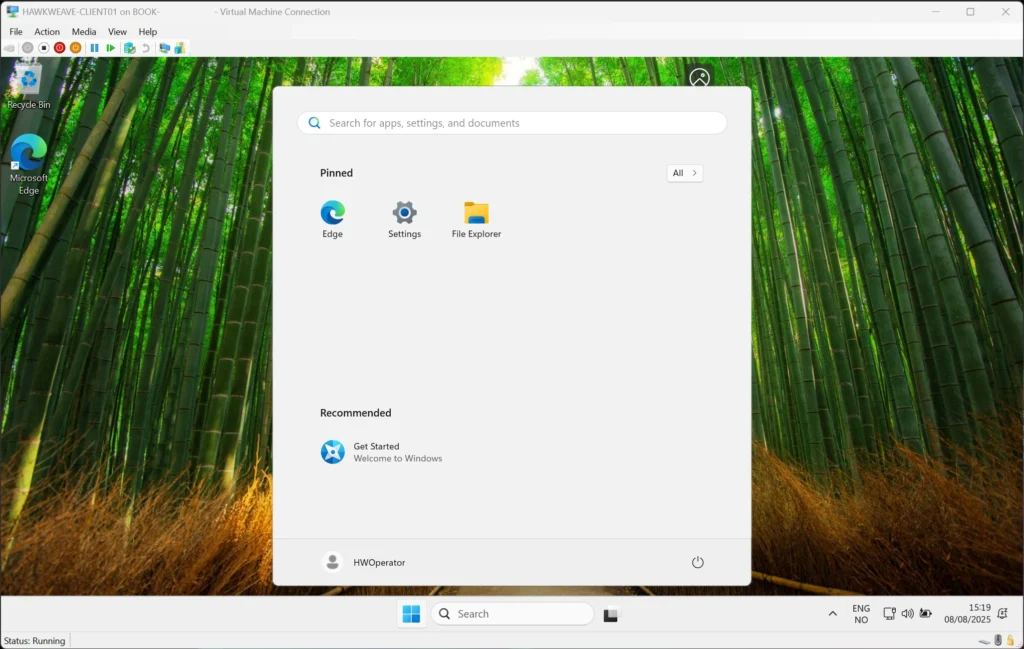
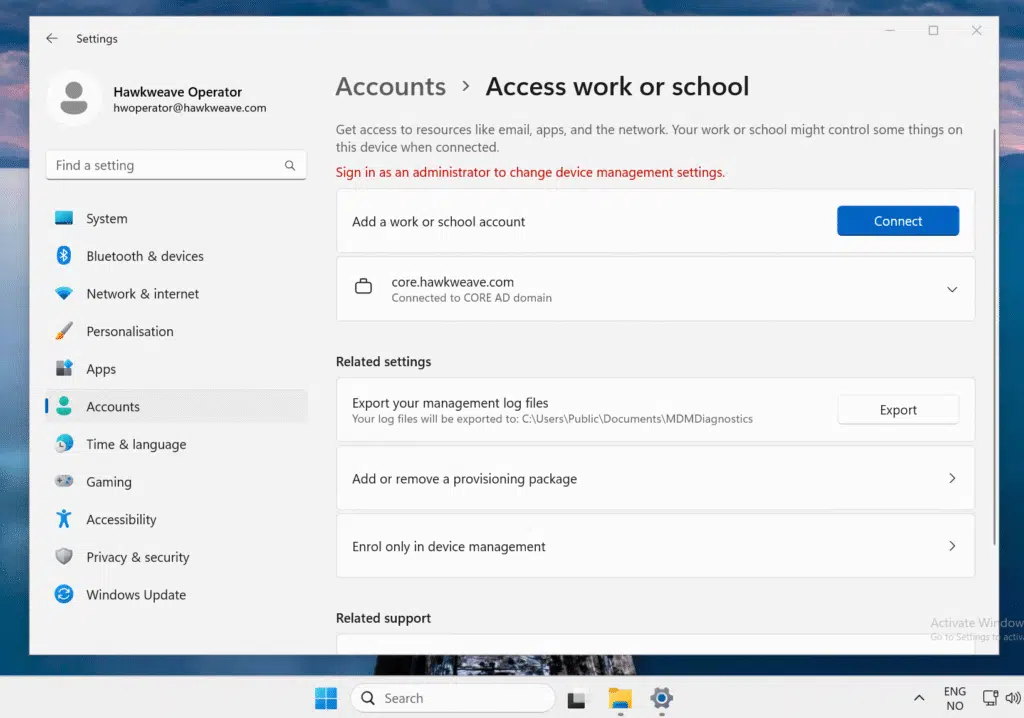
After a reboot, we can see we are joined to the CORE Hawkweave Domain:
That’s a wrap for today
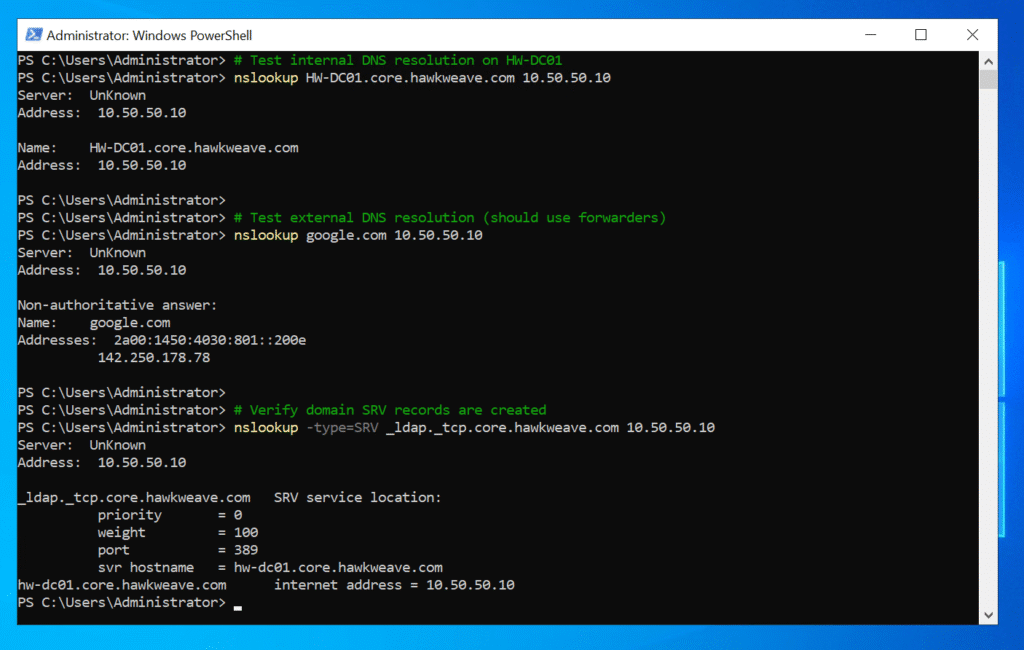
After getting everything set up and tested, I’m really happy with how this turned out. Network is sound, DNS and DHCP is working like it should (no DNS isn’t the problem – yet). We even have LAPS installed, and I’ll show you some configuration tips in a later post.
What’s next
I’m planning to add a few more components to make this more functional and prepared for testing some cloud-oriented Intune features.
- Certificate Authority – for PKi testing and certificate deployments
- NDES server – for mobile device (MDM) certificate enrollment
- Intune Certificate Connector – for connecting to Intune and pushing SCEP certificates
- Microsoft Entra Private network connector – for publishing the internal endpoints securely through the internet
But honestly, what I have now covers most of what I need just for the client and AD setup. It’s fast, isolated, and behaves just like a basic enterprise environment.
Have you built similar lab environments? I’d love to hear about your approach – especially if you’ve found better ways to handle the networking side or have recommendations for additional components that would be useful to add!
Essential external links
Microsoft Documentation
- Windows LAPS: https://docs.microsoft.com/en-us/windows-server/identity/laps/laps-overview
- Hyper-V Overview: https://learn.microsoft.com/en-us/windows-server/virtualization/hyper-v/overview
- Domain Controller Installation: https://docs.microsoft.com/en-us/windows-server/identity/ad-ds/deploy/install-active-directory-domain-services
Technical Resources
- Hyper-V PowerShell Reference: https://docs.microsoft.com/en-us/powershell/module/hyper-v/
- Group Policy Management: https://docs.microsoft.com/en-us/previous-versions/windows/it-pro/windows-server-2012-R2-and-2012/dn265969(v=ws.11)
- pfSense Documentation: https://docs.netgate.com/pfsense/en/latest/